2025 Year Calendar Excel: A Comprehensive Guide
Related Articles: 2025 Year Calendar Excel: A Comprehensive Guide
- DEPED SY 2025-2026 Calendar: A Comprehensive Guide
- Free Printable Calendars 2025: Stay Organized And Stylish
- February March 2025 Calendar: A Comprehensive Overview
- March 2025
- Galveston Calendar Of Events March 2025
Introduction
In this auspicious occasion, we are delighted to delve into the intriguing topic related to 2025 Year Calendar Excel: A Comprehensive Guide. Let’s weave interesting information and offer fresh perspectives to the readers.
Table of Content
Video about 2025 Year Calendar Excel: A Comprehensive Guide
2025 Year Calendar Excel: A Comprehensive Guide
Introduction
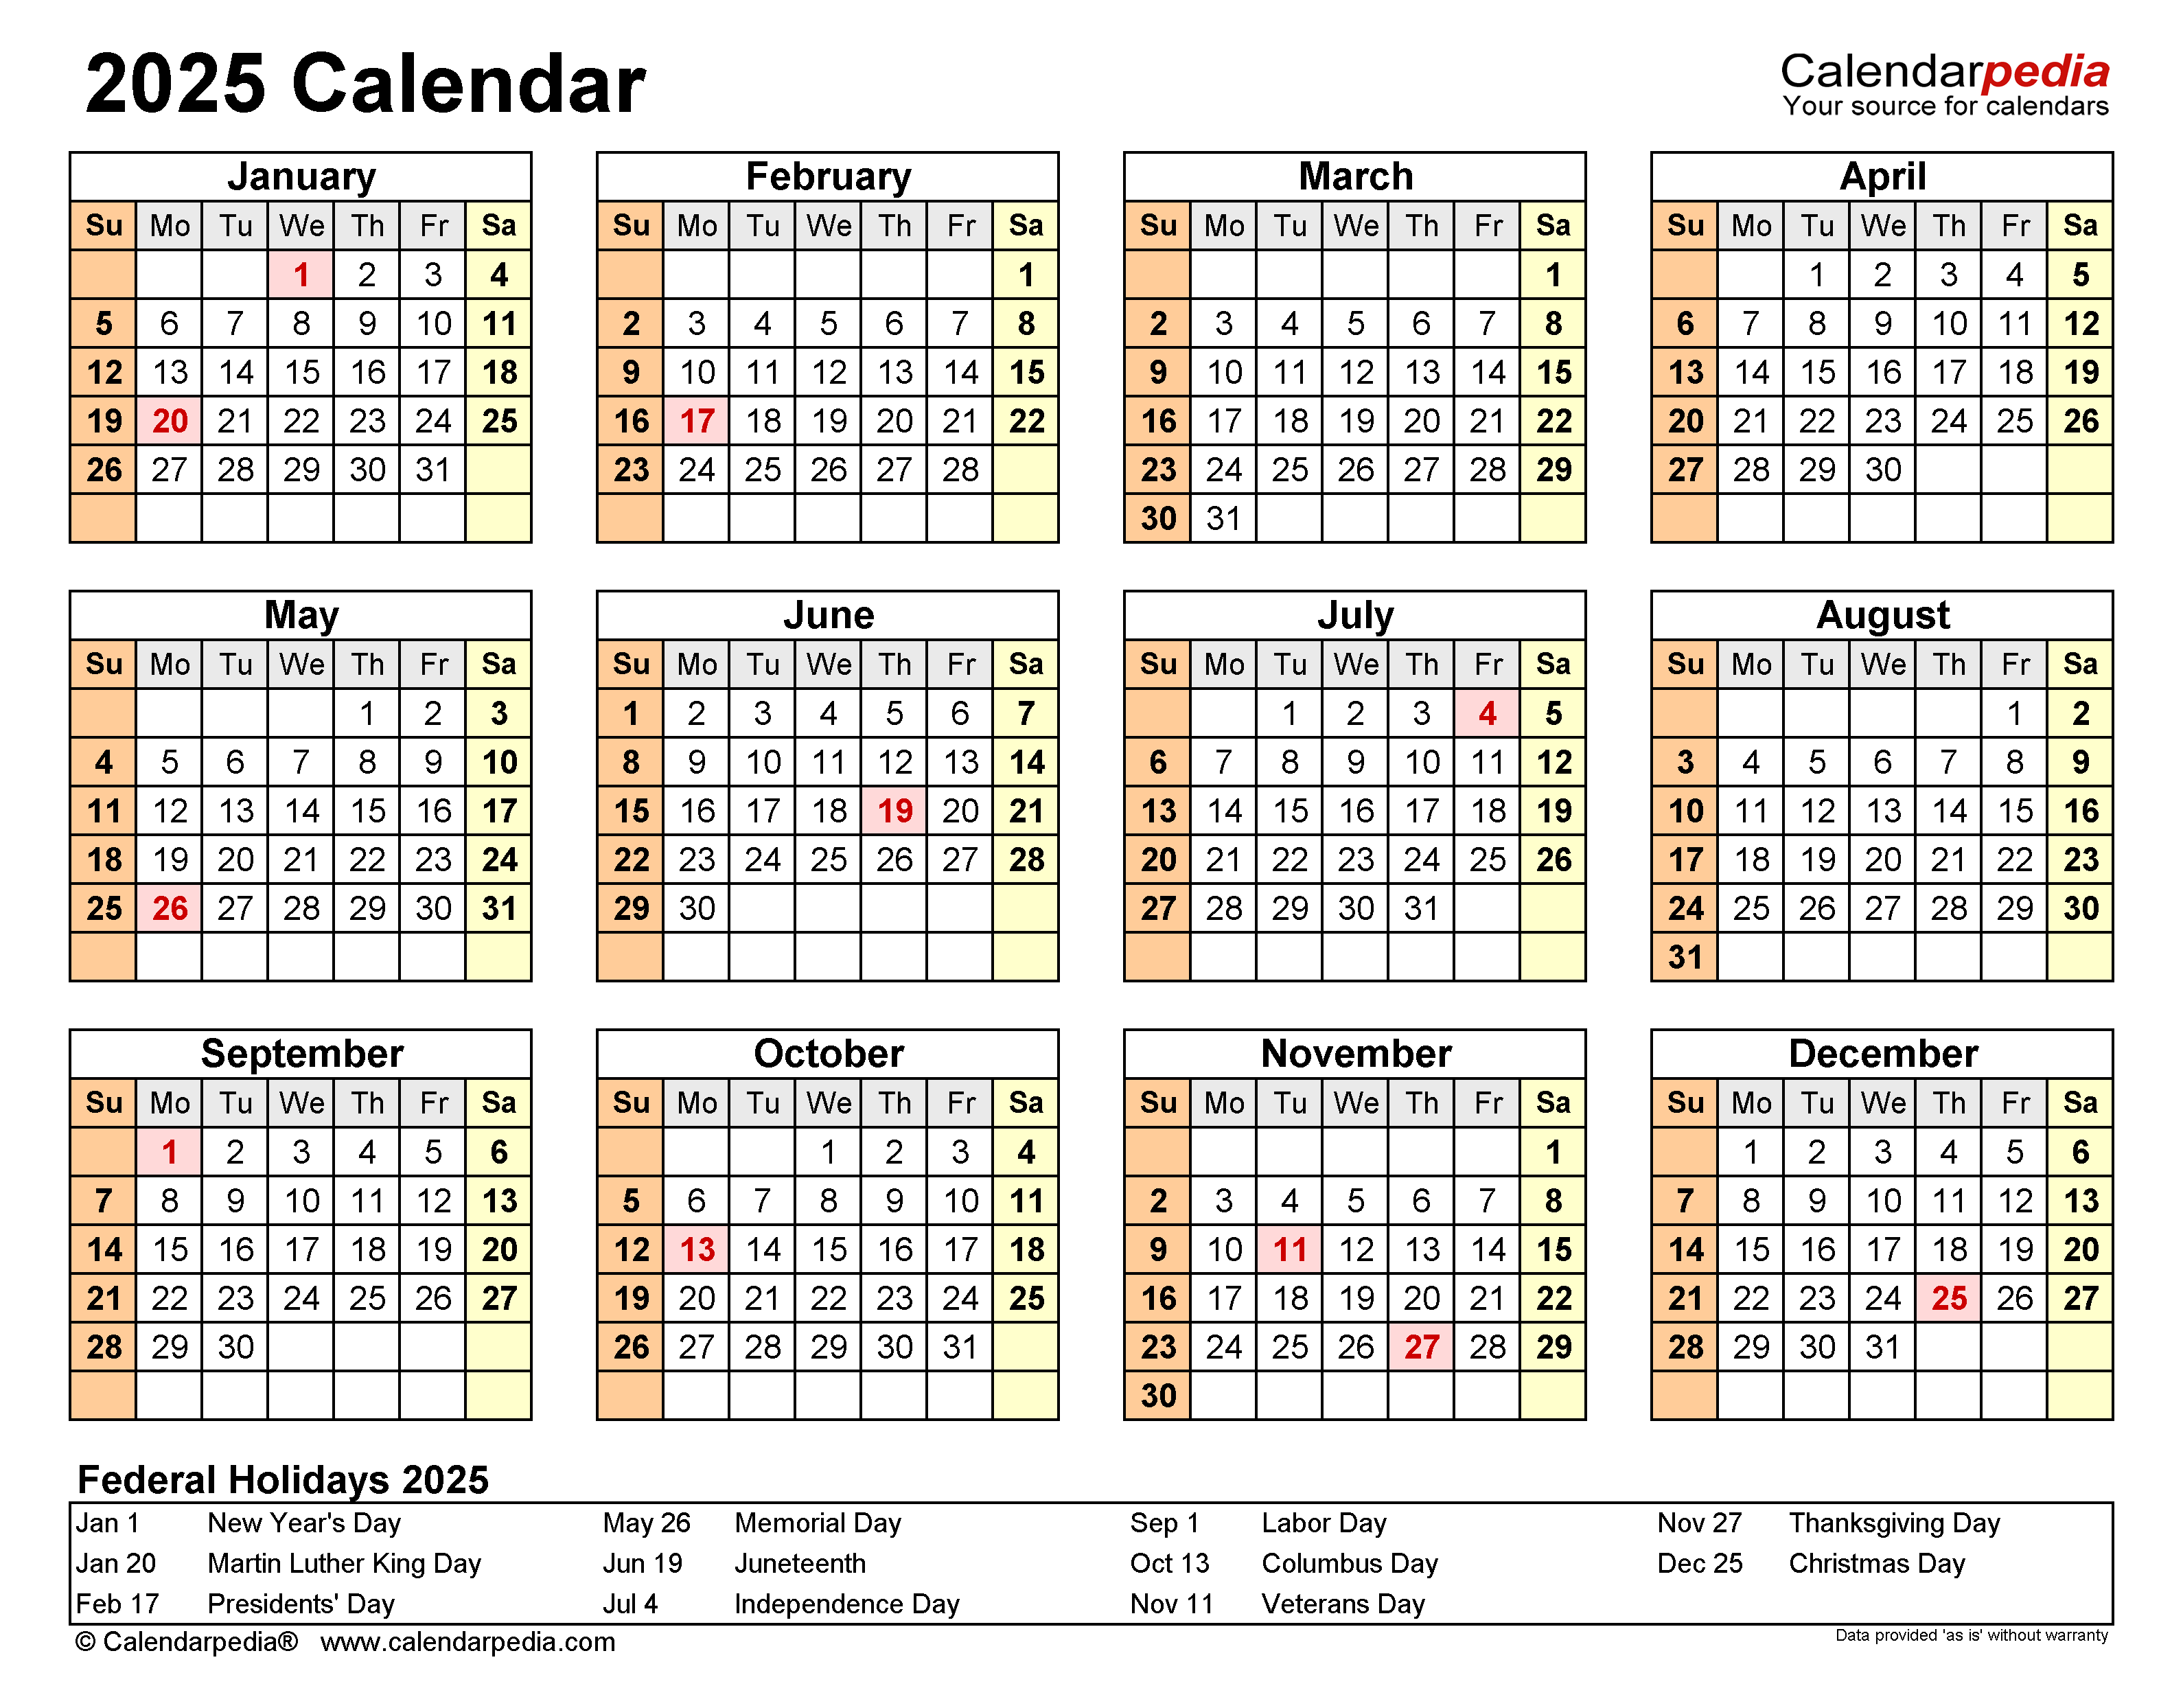
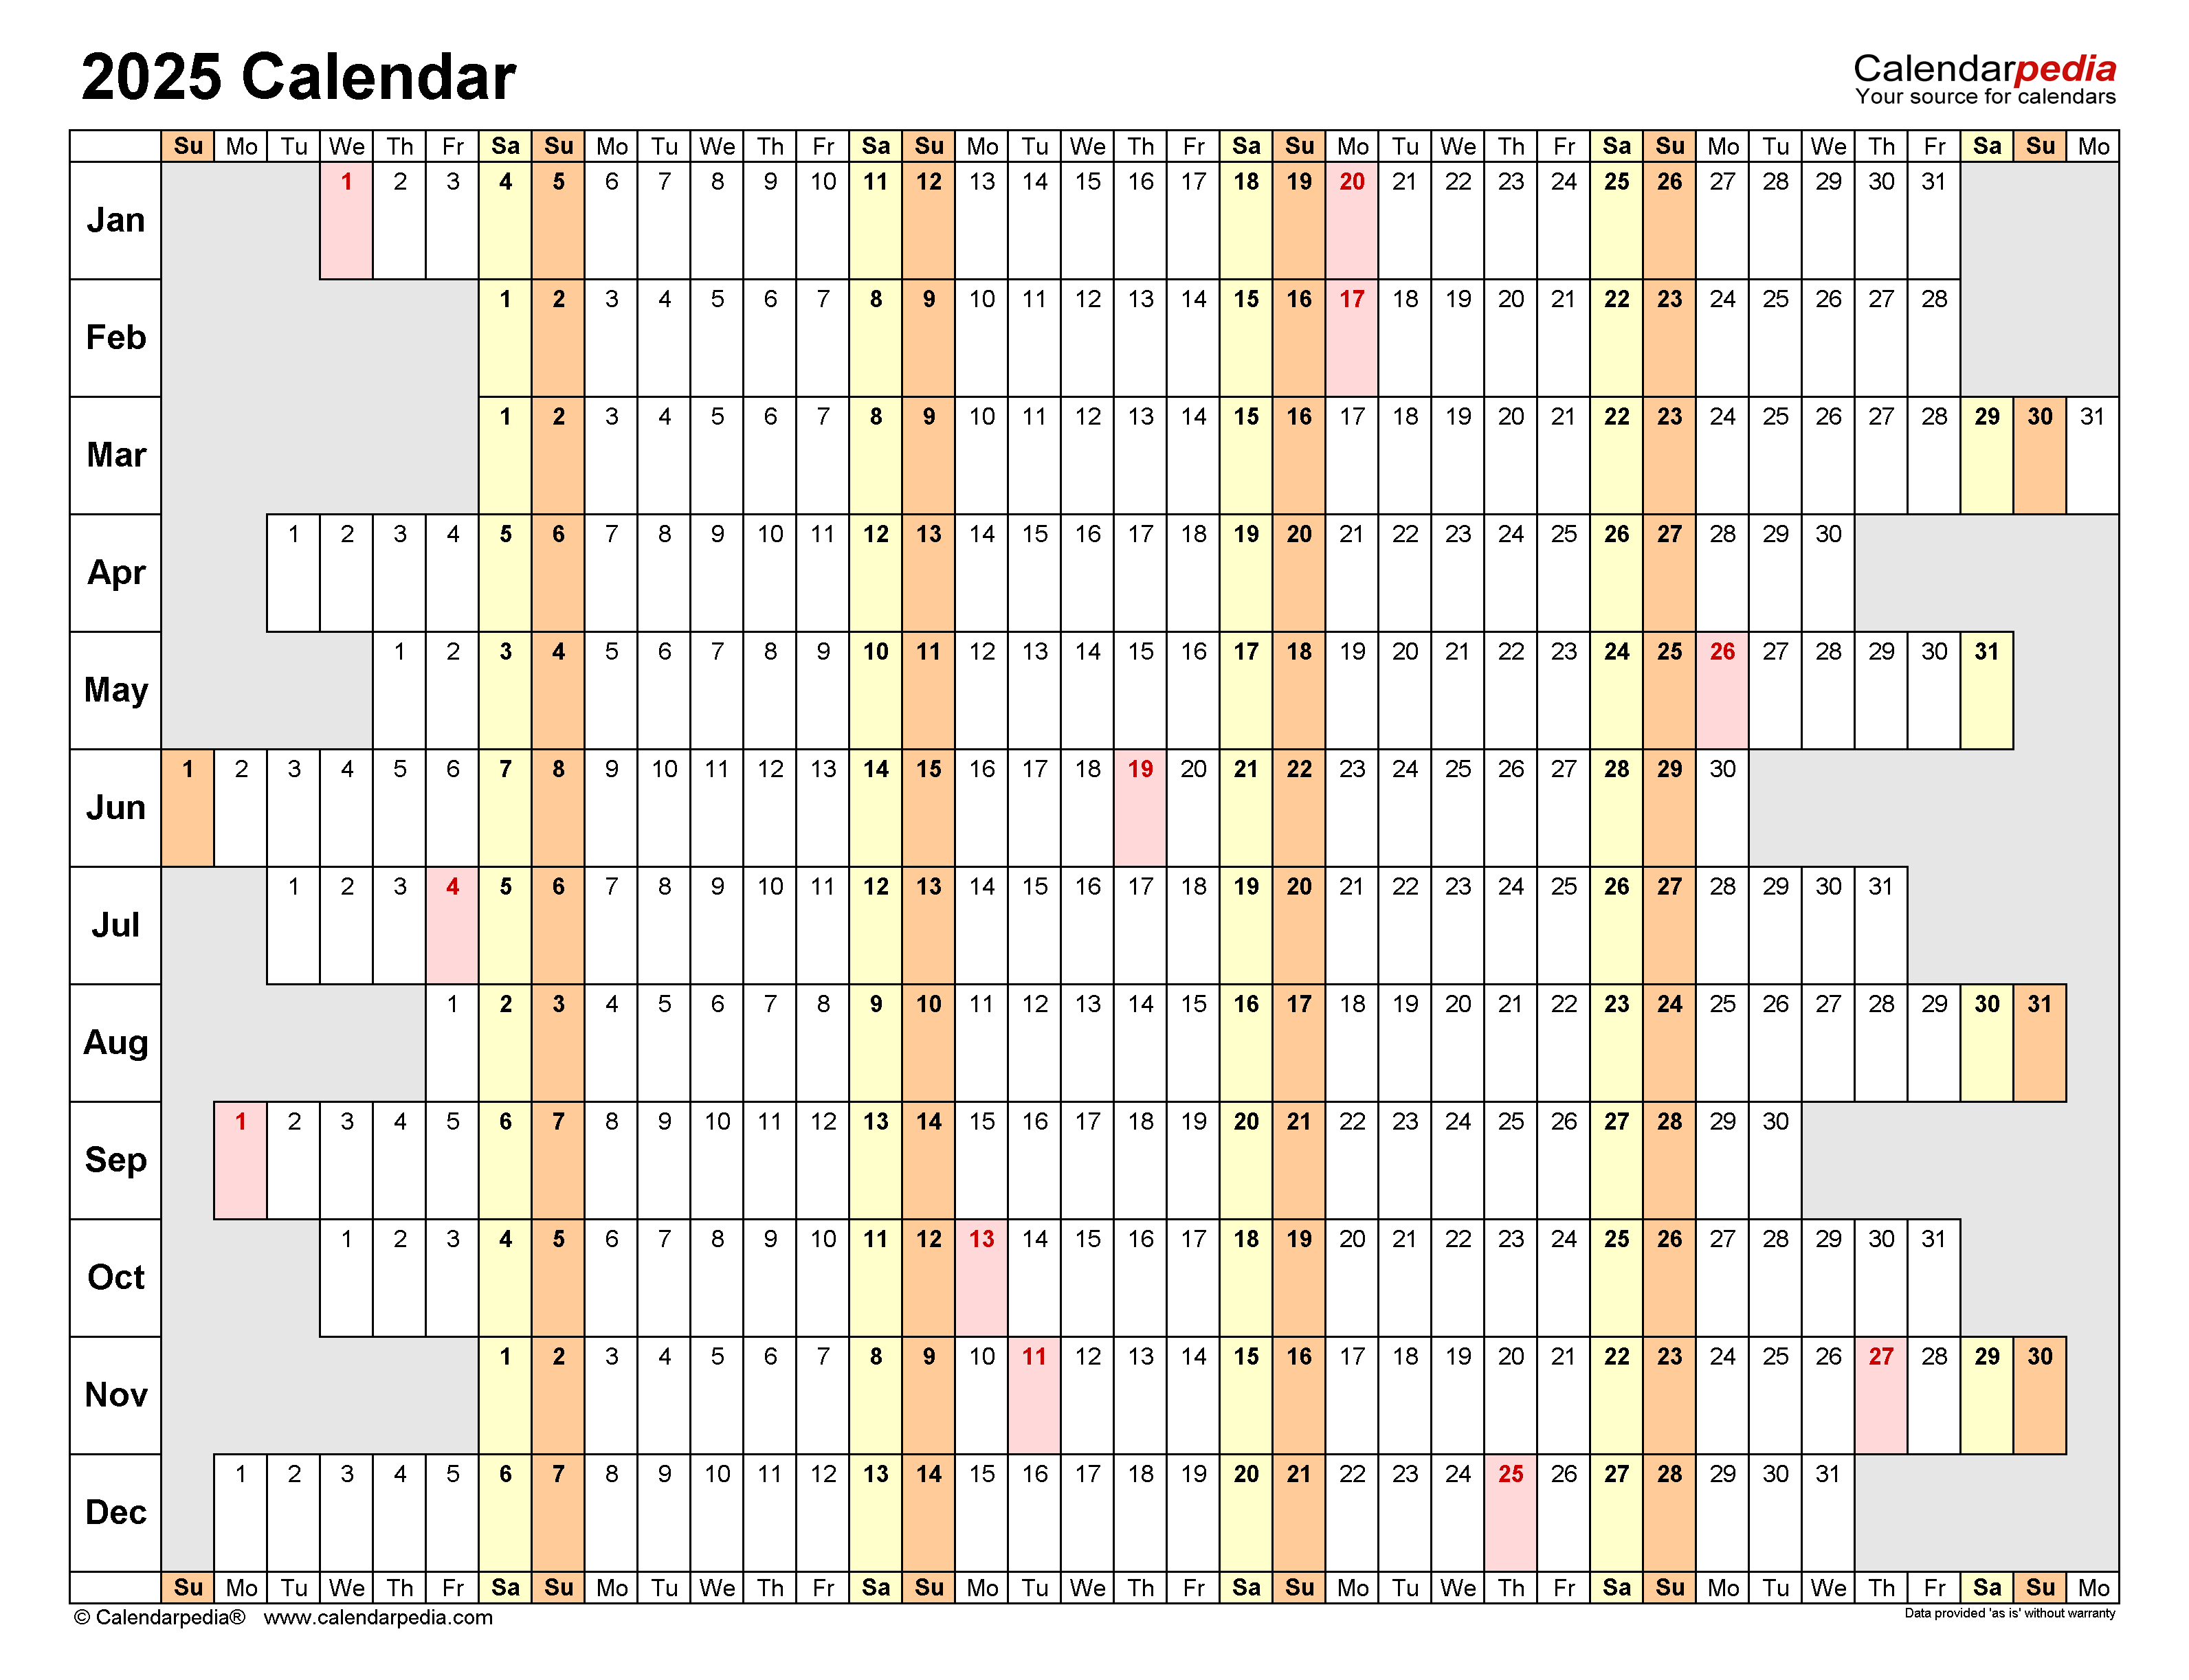
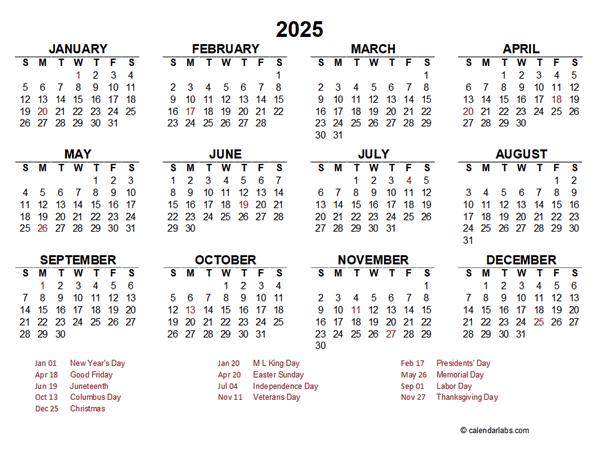
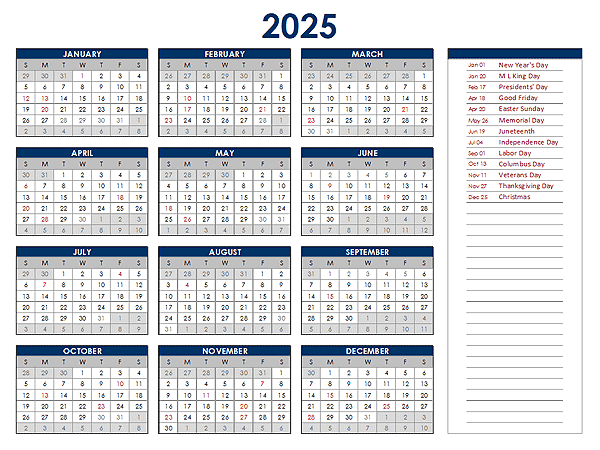
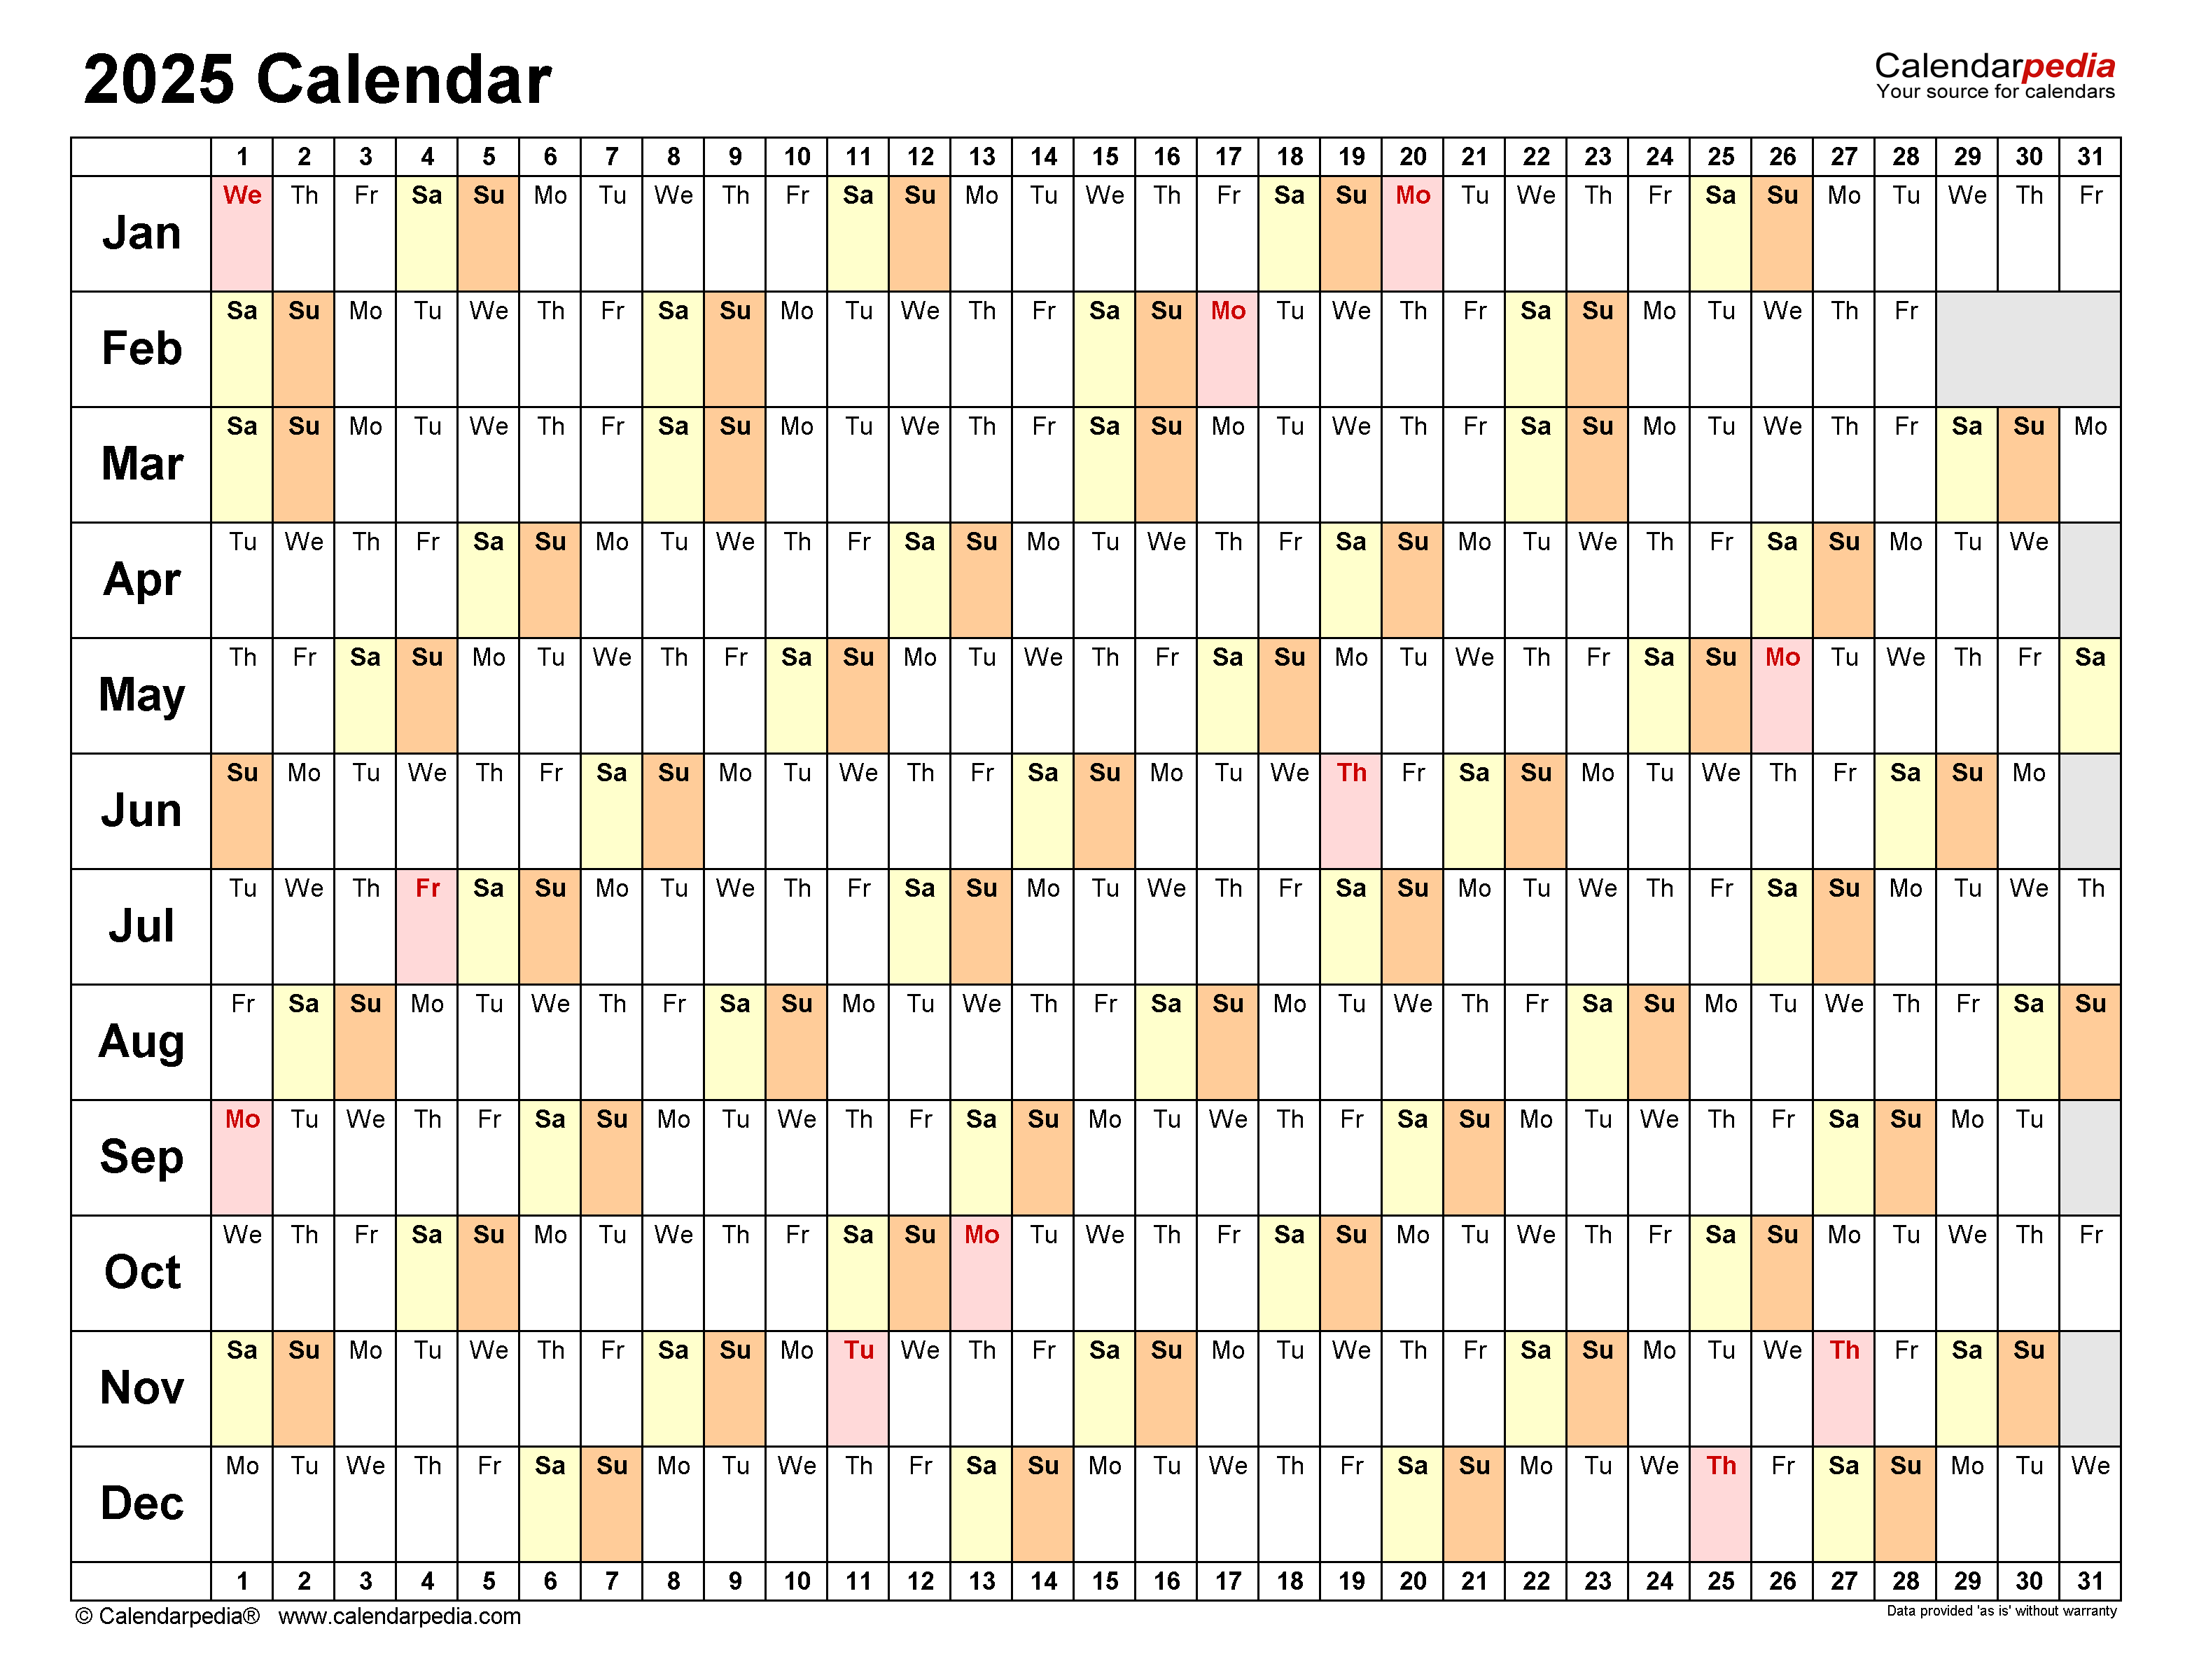
In today’s fast-paced world, staying organized and on top of your schedule is crucial. A yearly calendar is an indispensable tool for managing appointments, events, and important dates. Microsoft Excel, a versatile spreadsheet software, offers a powerful and customizable platform for creating a comprehensive year calendar. This guide will provide step-by-step instructions on how to create a 2025 year calendar in Excel, complete with formatting, customization, and printing options.
Creating the Calendar Base
- Open a new Excel workbook.
- In cell A1, enter "Sunday" and fill in the days of the week across row 1.
- In cell A2, enter "January 1, 2025" and format it as a date using the "dd/mm/yyyy" format.
- Drag the fill handle in the bottom-right corner of cell A2 down to cell A365 (or A366 for leap years) to create a list of dates from January 1, 2025, to December 31, 2025.
Formatting the Calendar
- Select cells A1:G365 (or A1:G366).
- Click the "Home" tab and choose a font style and size that suits your preference.
- Apply a border style to the cells to create a grid-like appearance.
- Merge cells A1:G1 to create a header for the calendar year.
- Center the text in the header cell and apply a bold font.
Customizing the Calendar
- Highlight important dates or events by applying conditional formatting.
- Use different colors, fonts, or shading to distinguish weekends, holidays, or special occasions.
- Insert images, logos, or other graphics to enhance the visual appeal of the calendar.
- Add notes or reminders to specific dates by using the "Comment" feature.
- Create multiple tabs within the workbook to organize different types of calendars (e.g., work, personal, travel).
Printing the Calendar
- Preview the calendar by clicking the "File" tab and selecting "Print."
- Adjust the print settings, such as page orientation, margins, and scaling.
- Choose the appropriate printer and click "Print" to generate a physical copy of the calendar.
Additional Features
Hyperlinking: Add hyperlinks to specific dates or events to quickly access related documents, websites, or appointments.
Data Validation: Set data validation rules to ensure that only valid dates or data are entered into the calendar.
Macros: Use macros to automate tasks, such as creating new calendars or updating existing ones.
Sharing and Collaboration: Share the Excel calendar with others via email, OneDrive, or other cloud-based platforms to facilitate collaboration and coordination.
Conclusion
Creating a 2025 year calendar in Excel is a straightforward process that empowers you to manage your schedule effectively. By utilizing the powerful features and customization options offered by Excel, you can create a tailored calendar that meets your specific needs. Whether you need a simple yearly overview or a highly detailed and interactive schedule, Excel provides the tools to bring your calendar vision to life.

Closure
Thus, we hope this article has provided valuable insights into 2025 Year Calendar Excel: A Comprehensive Guide. We thank you for taking the time to read this article. See you in our next article!