Create a 2025 Calendar in Excel: A Step-by-Step Guide
Related Articles: Create a 2025 Calendar in Excel: A Step-by-Step Guide
- September 2025 Calendar Holidays Philippines
- April 2025 Telugu Calendar: A Comprehensive Overview
- 2025 Calendar Printing: A Comprehensive Guide To Online Purchases
- 2025 Australian Calendar: A Comprehensive Guide
- Printable 2025 Calendar: Plan Your Year With Ease And Style
Introduction
With enthusiasm, let’s navigate through the intriguing topic related to Create a 2025 Calendar in Excel: A Step-by-Step Guide. Let’s weave interesting information and offer fresh perspectives to the readers.
Table of Content
Video about Create a 2025 Calendar in Excel: A Step-by-Step Guide
Create a 2025 Calendar in Excel: A Step-by-Step Guide
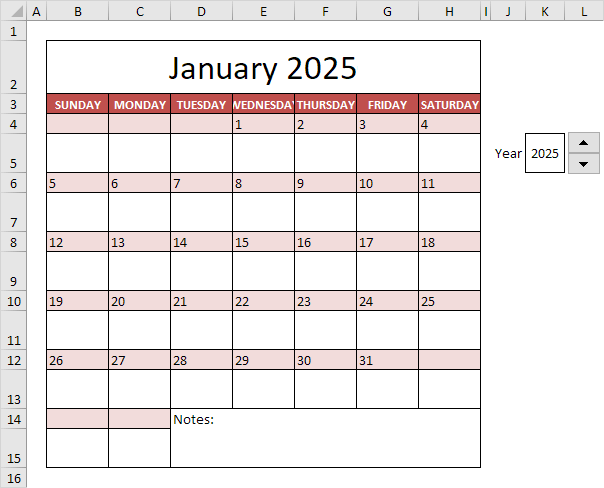
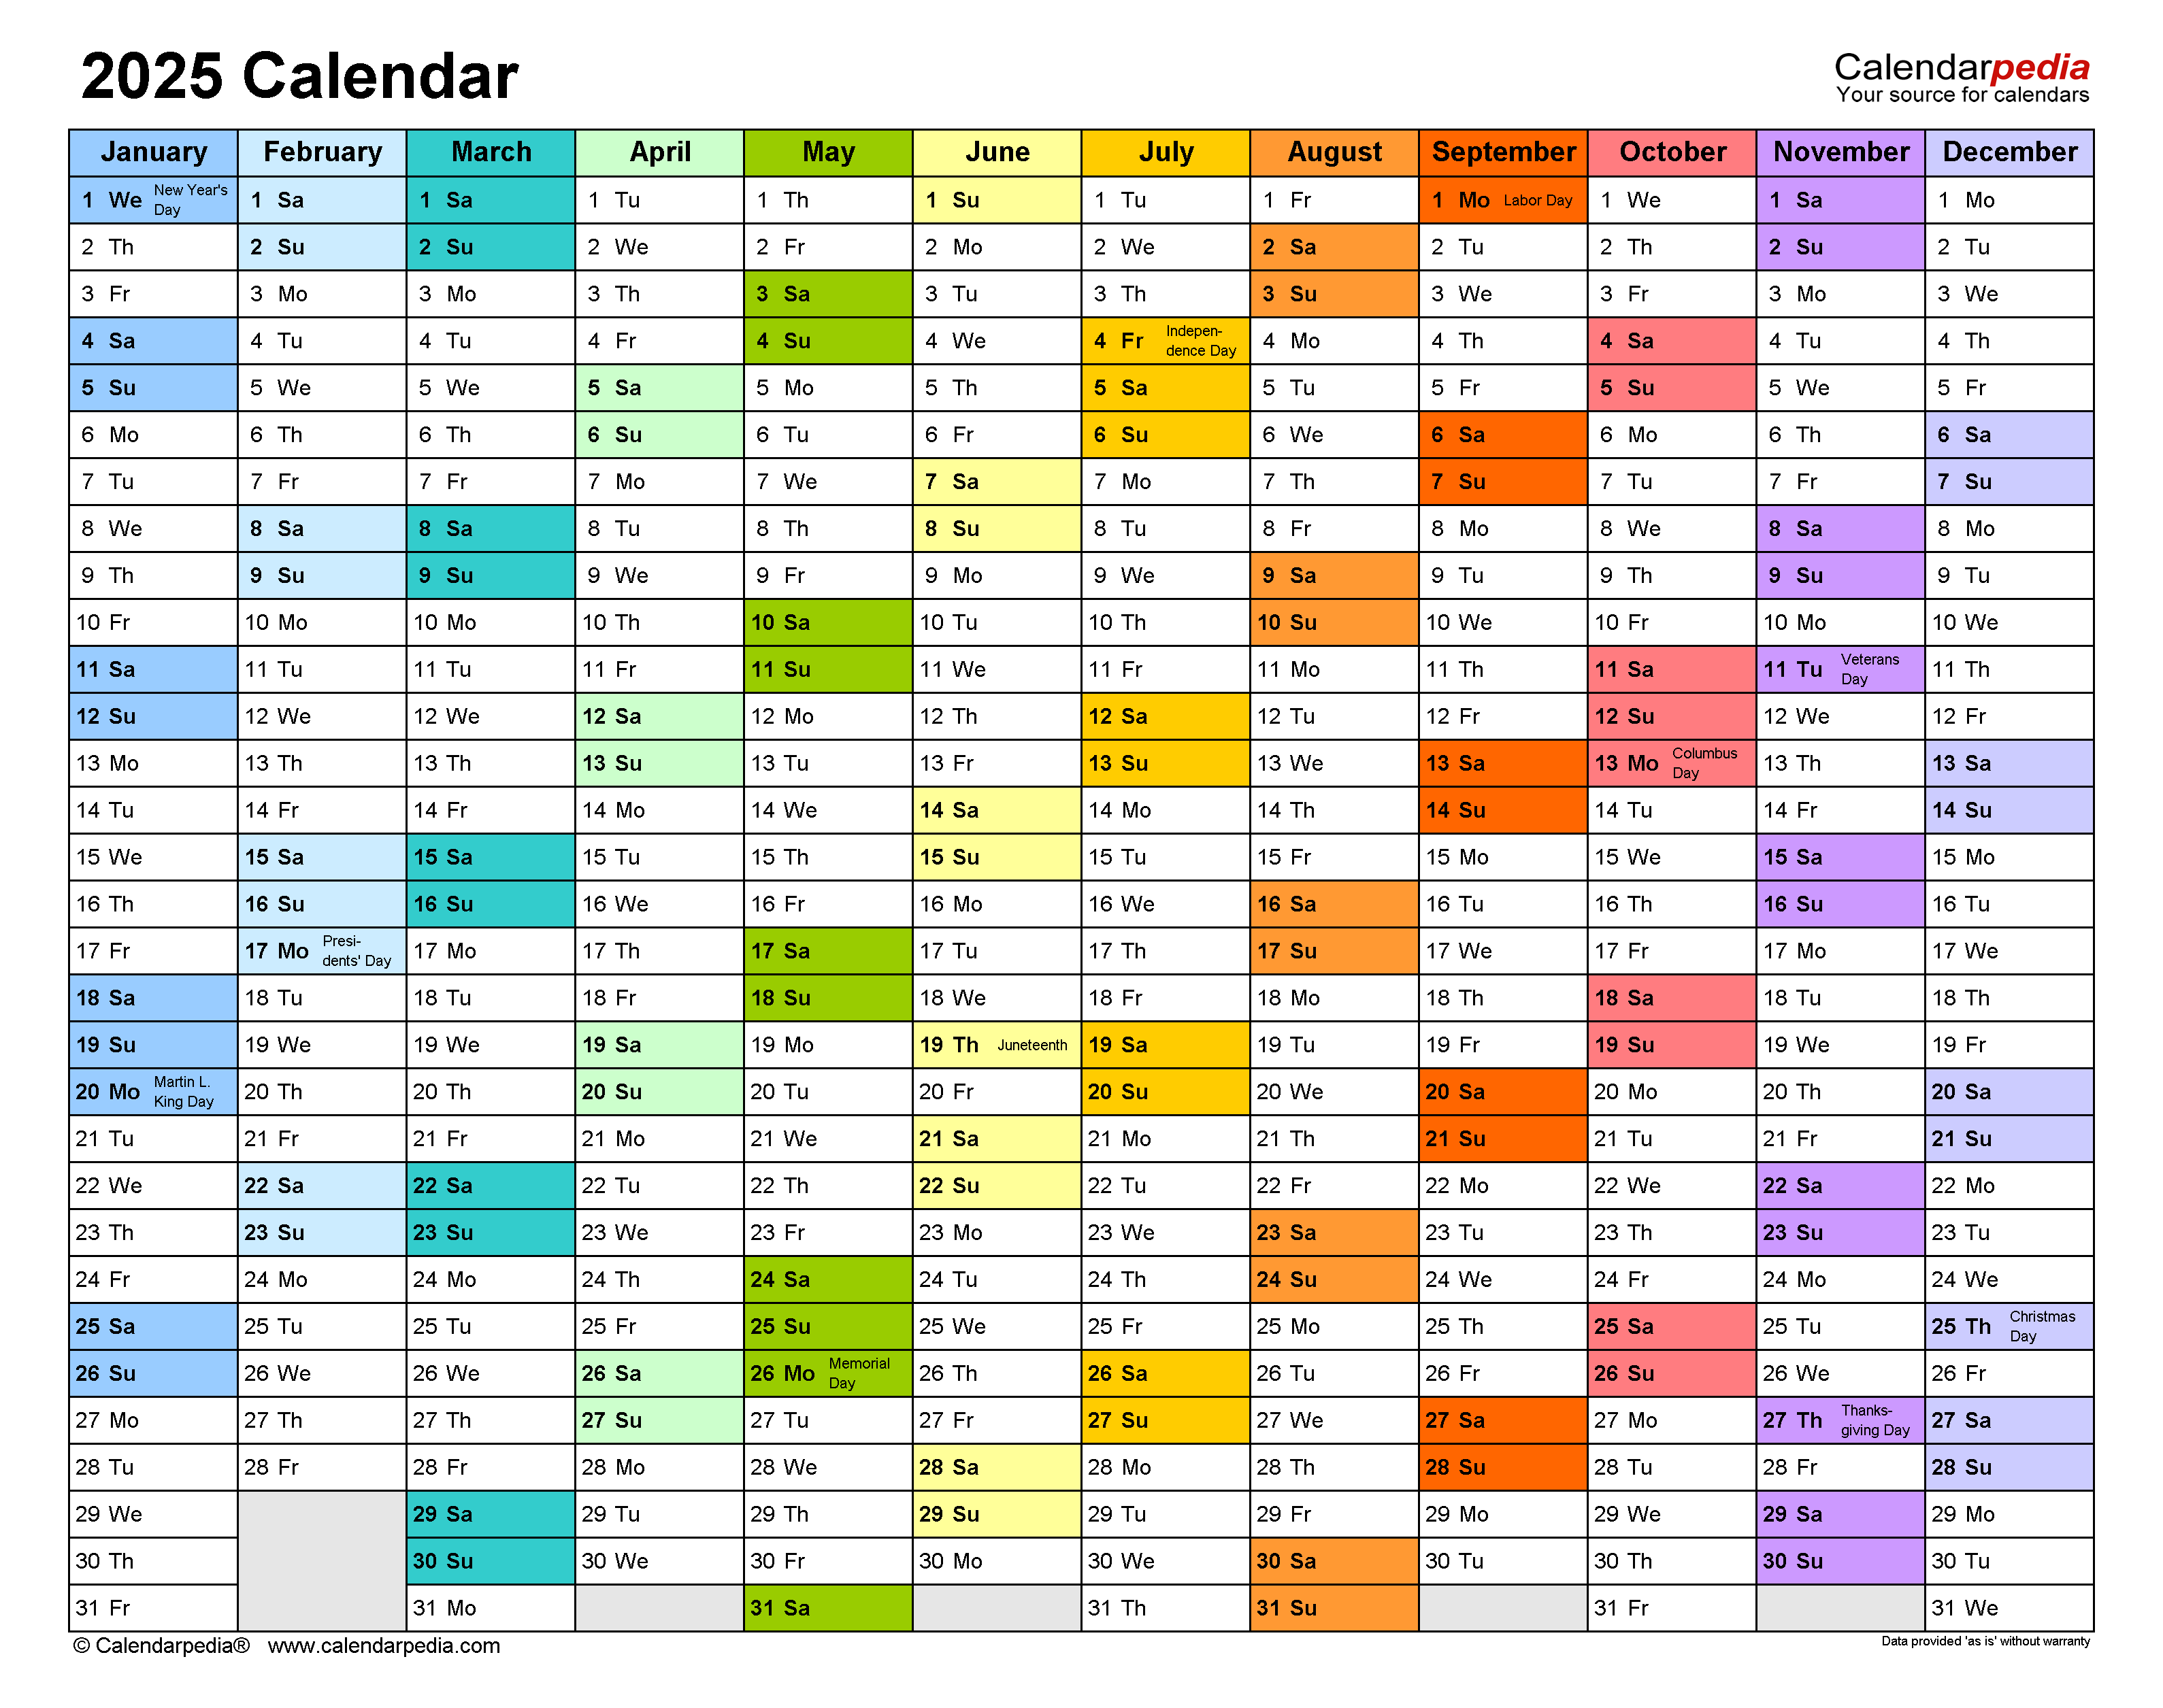
Microsoft Excel is a versatile software application that can be used for a wide variety of tasks, including creating calendars. This guide will show you how to create a 2025 calendar in Excel, complete with month names, day numbers, and week numbers.
Step 1: Open Excel and Create a New Workbook
To begin, open Microsoft Excel and create a new workbook. You can do this by clicking on the "File" tab and selecting "New" from the menu.
Step 2: Set Up the Calendar Grid
The first step in creating a calendar is to set up the grid. To do this, you will need to create a table with seven columns and six rows. The columns will represent the days of the week, and the rows will represent the weeks of the month.
To create the table, click on the "Insert" tab and select "Table" from the menu. In the "Create Table" dialog box, select the range of cells that you want to use for the table (A1:G6). Then, click on the "OK" button.
Step 3: Format the Table
Once you have created the table, you will need to format it so that it looks like a calendar. To do this, you can use the following steps:
- Merge the cells in the first row. This will create the header for the calendar.
- Center the text in the header.
- Bold the text in the header.
- Change the font size of the text in the header.
- Add a border to the table.
Step 4: Add the Month Names
The next step is to add the month names to the calendar. To do this, you will need to type the name of each month in the first row of the table.
Step 5: Add the Day Numbers
Once you have added the month names, you will need to add the day numbers. To do this, you will need to type the number of each day in the appropriate cell in the table.
Step 6: Add the Week Numbers
The final step is to add the week numbers to the calendar. To do this, you will need to use the WEEKNUM function. The WEEKNUM function takes two arguments: the date that you want to find the week number for, and the type of week number that you want to use.
To add the week numbers to the calendar, you will need to use the following formula:
=WEEKNUM(A2,2)This formula will return the week number for the date in cell A2, using the type 2 week number format.
Step 7: Save the Calendar
Once you have completed the calendar, you can save it by clicking on the "File" tab and selecting "Save" from the menu.
Additional Tips
Here are a few additional tips for creating a calendar in Excel:
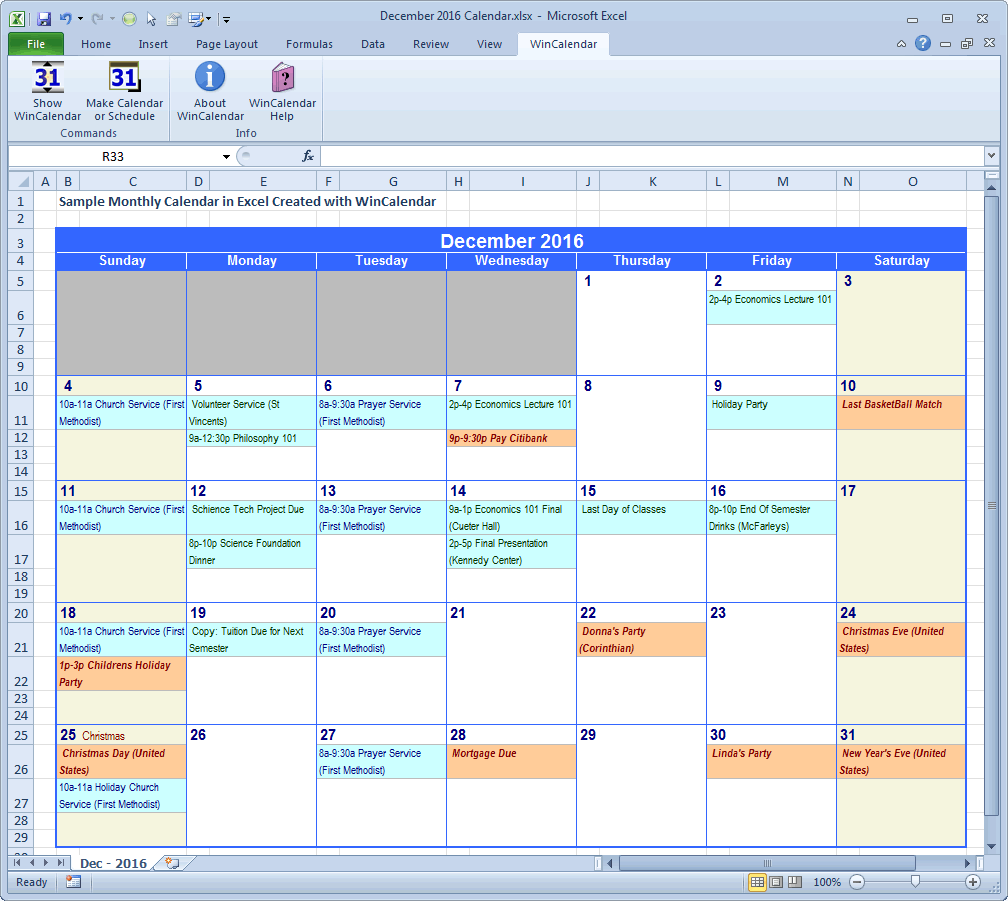
- You can use the conditional formatting feature to highlight specific dates on the calendar.
- You can add events to the calendar by creating a new column and typing the event name in the appropriate cell.
- You can use the calendar to track appointments, deadlines, and other important dates.
Conclusion
Creating a calendar in Excel is a quick and easy way to stay organized and keep track of important dates. By following the steps in this guide, you can create a 2025 calendar that meets your specific needs.

Closure
Thus, we hope this article has provided valuable insights into Create a 2025 Calendar in Excel: A Step-by-Step Guide. We appreciate your attention to our article. See you in our next article!