Excel Calendar 2025-2026: A Comprehensive Guide
Related Articles: Excel Calendar 2025-2026: A Comprehensive Guide
- School District 57 Calendar 2025: A Comprehensive Overview
- Gujarati Calendar August 2025: A Comprehensive Guide
- Holiday Calendar 2025-2026: A Comprehensive Guide To Federal Holidays
- Calendario 2025 Con Días Festivos
- 2025 Calendar Reminder: A Comprehensive Guide To Important Dates And Events
Introduction
In this auspicious occasion, we are delighted to delve into the intriguing topic related to Excel Calendar 2025-2026: A Comprehensive Guide. Let’s weave interesting information and offer fresh perspectives to the readers.
Table of Content
Video about Excel Calendar 2025-2026: A Comprehensive Guide
Excel Calendar 2025-2026: A Comprehensive Guide
Introduction
Microsoft Excel is a powerful spreadsheet application that offers a wide range of features and functionalities, including the ability to create and customize calendars. An Excel calendar can be a valuable tool for planning, scheduling, and tracking appointments, events, and deadlines. In this article, we will provide a comprehensive guide on how to create an Excel calendar for the years 2025 and 2026, complete with step-by-step instructions and helpful tips.
Step 1: Create a New Excel Workbook
Begin by opening Microsoft Excel and creating a new workbook. You can do this by clicking on the "File" tab in the top left corner of the screen and selecting "New" from the drop-down menu. A blank workbook will appear on your screen.
Step 2: Format the Cells
Next, we need to format the cells that will make up our calendar. Select the cells from A1 to G100. Right-click on the selected cells and choose "Format Cells" from the context menu. In the "Format Cells" dialog box, go to the "Number" tab and select the "Date" category. Choose the date format that you prefer, such as "m/d/yyyy" or "d-mmm-yy". Click "OK" to apply the date format to the selected cells.
Step 3: Create the Calendar Header
Now, we will create the header for our calendar. In cell A1, type "Sunday" and in cell B1, type "Monday". Continue filling in the cells across the top row with the remaining days of the week: "Tuesday", "Wednesday", "Thursday", "Friday", and "Saturday".
Step 4: Create the Month Headers
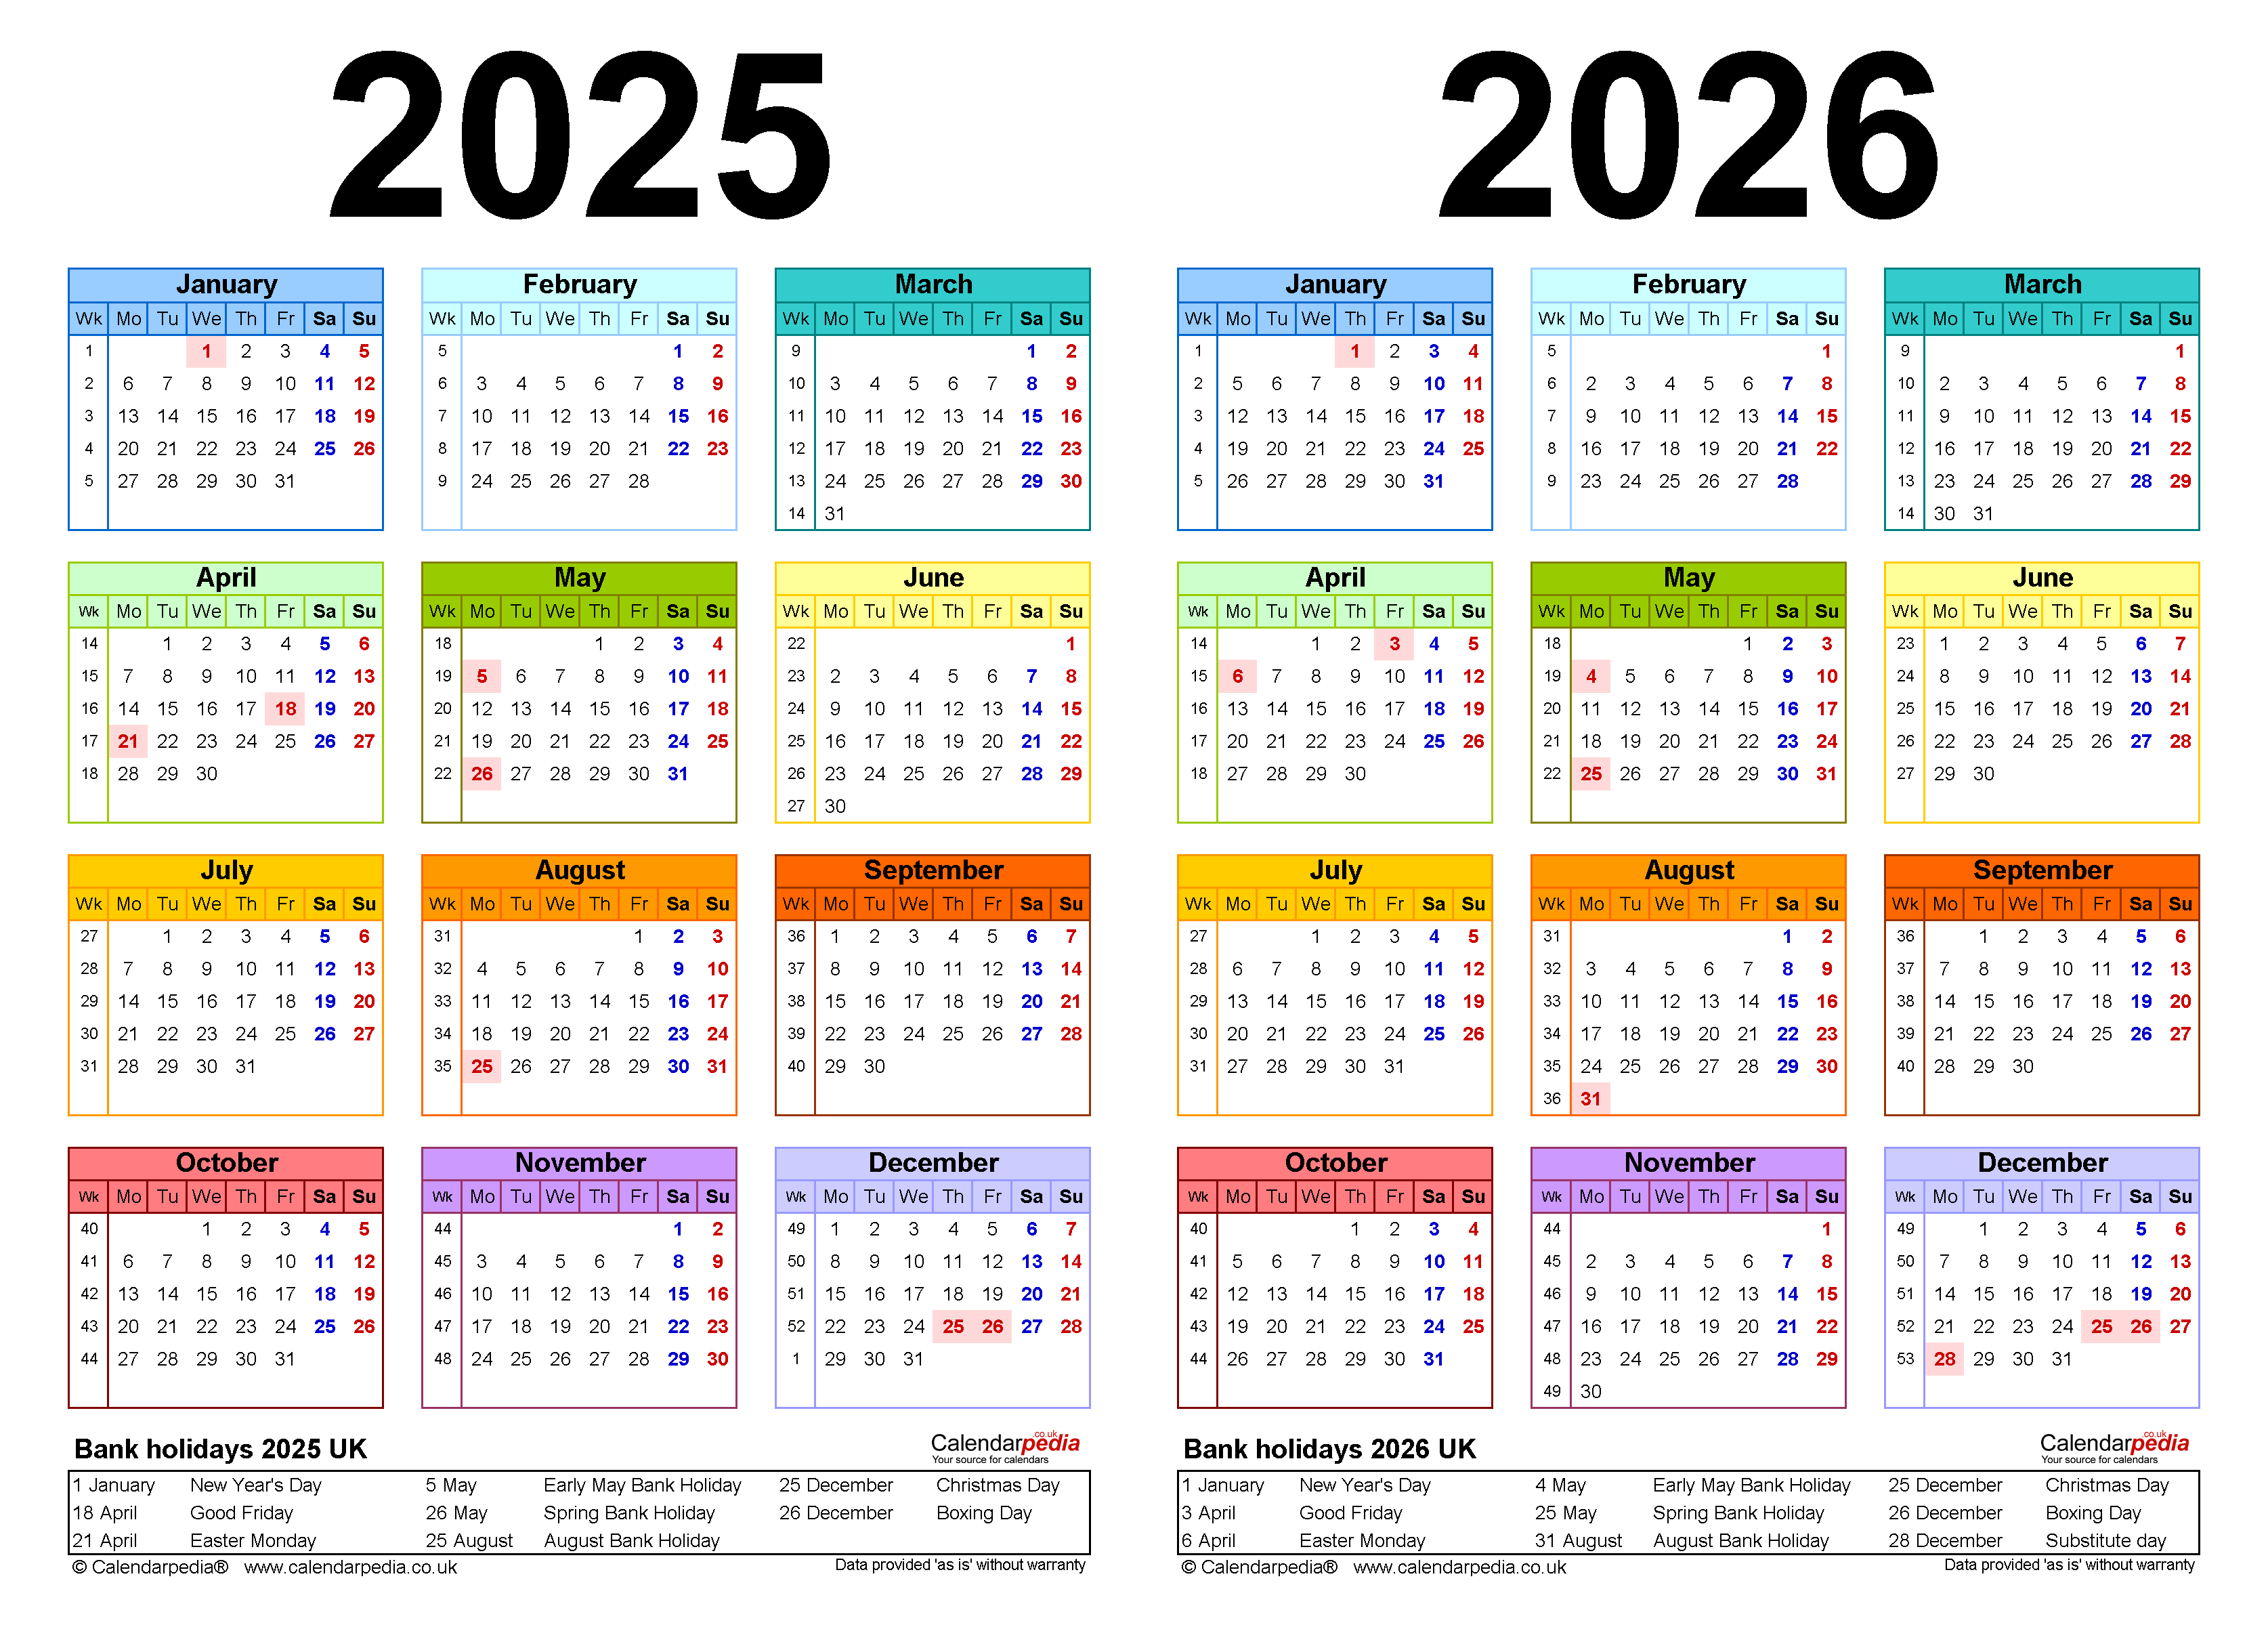
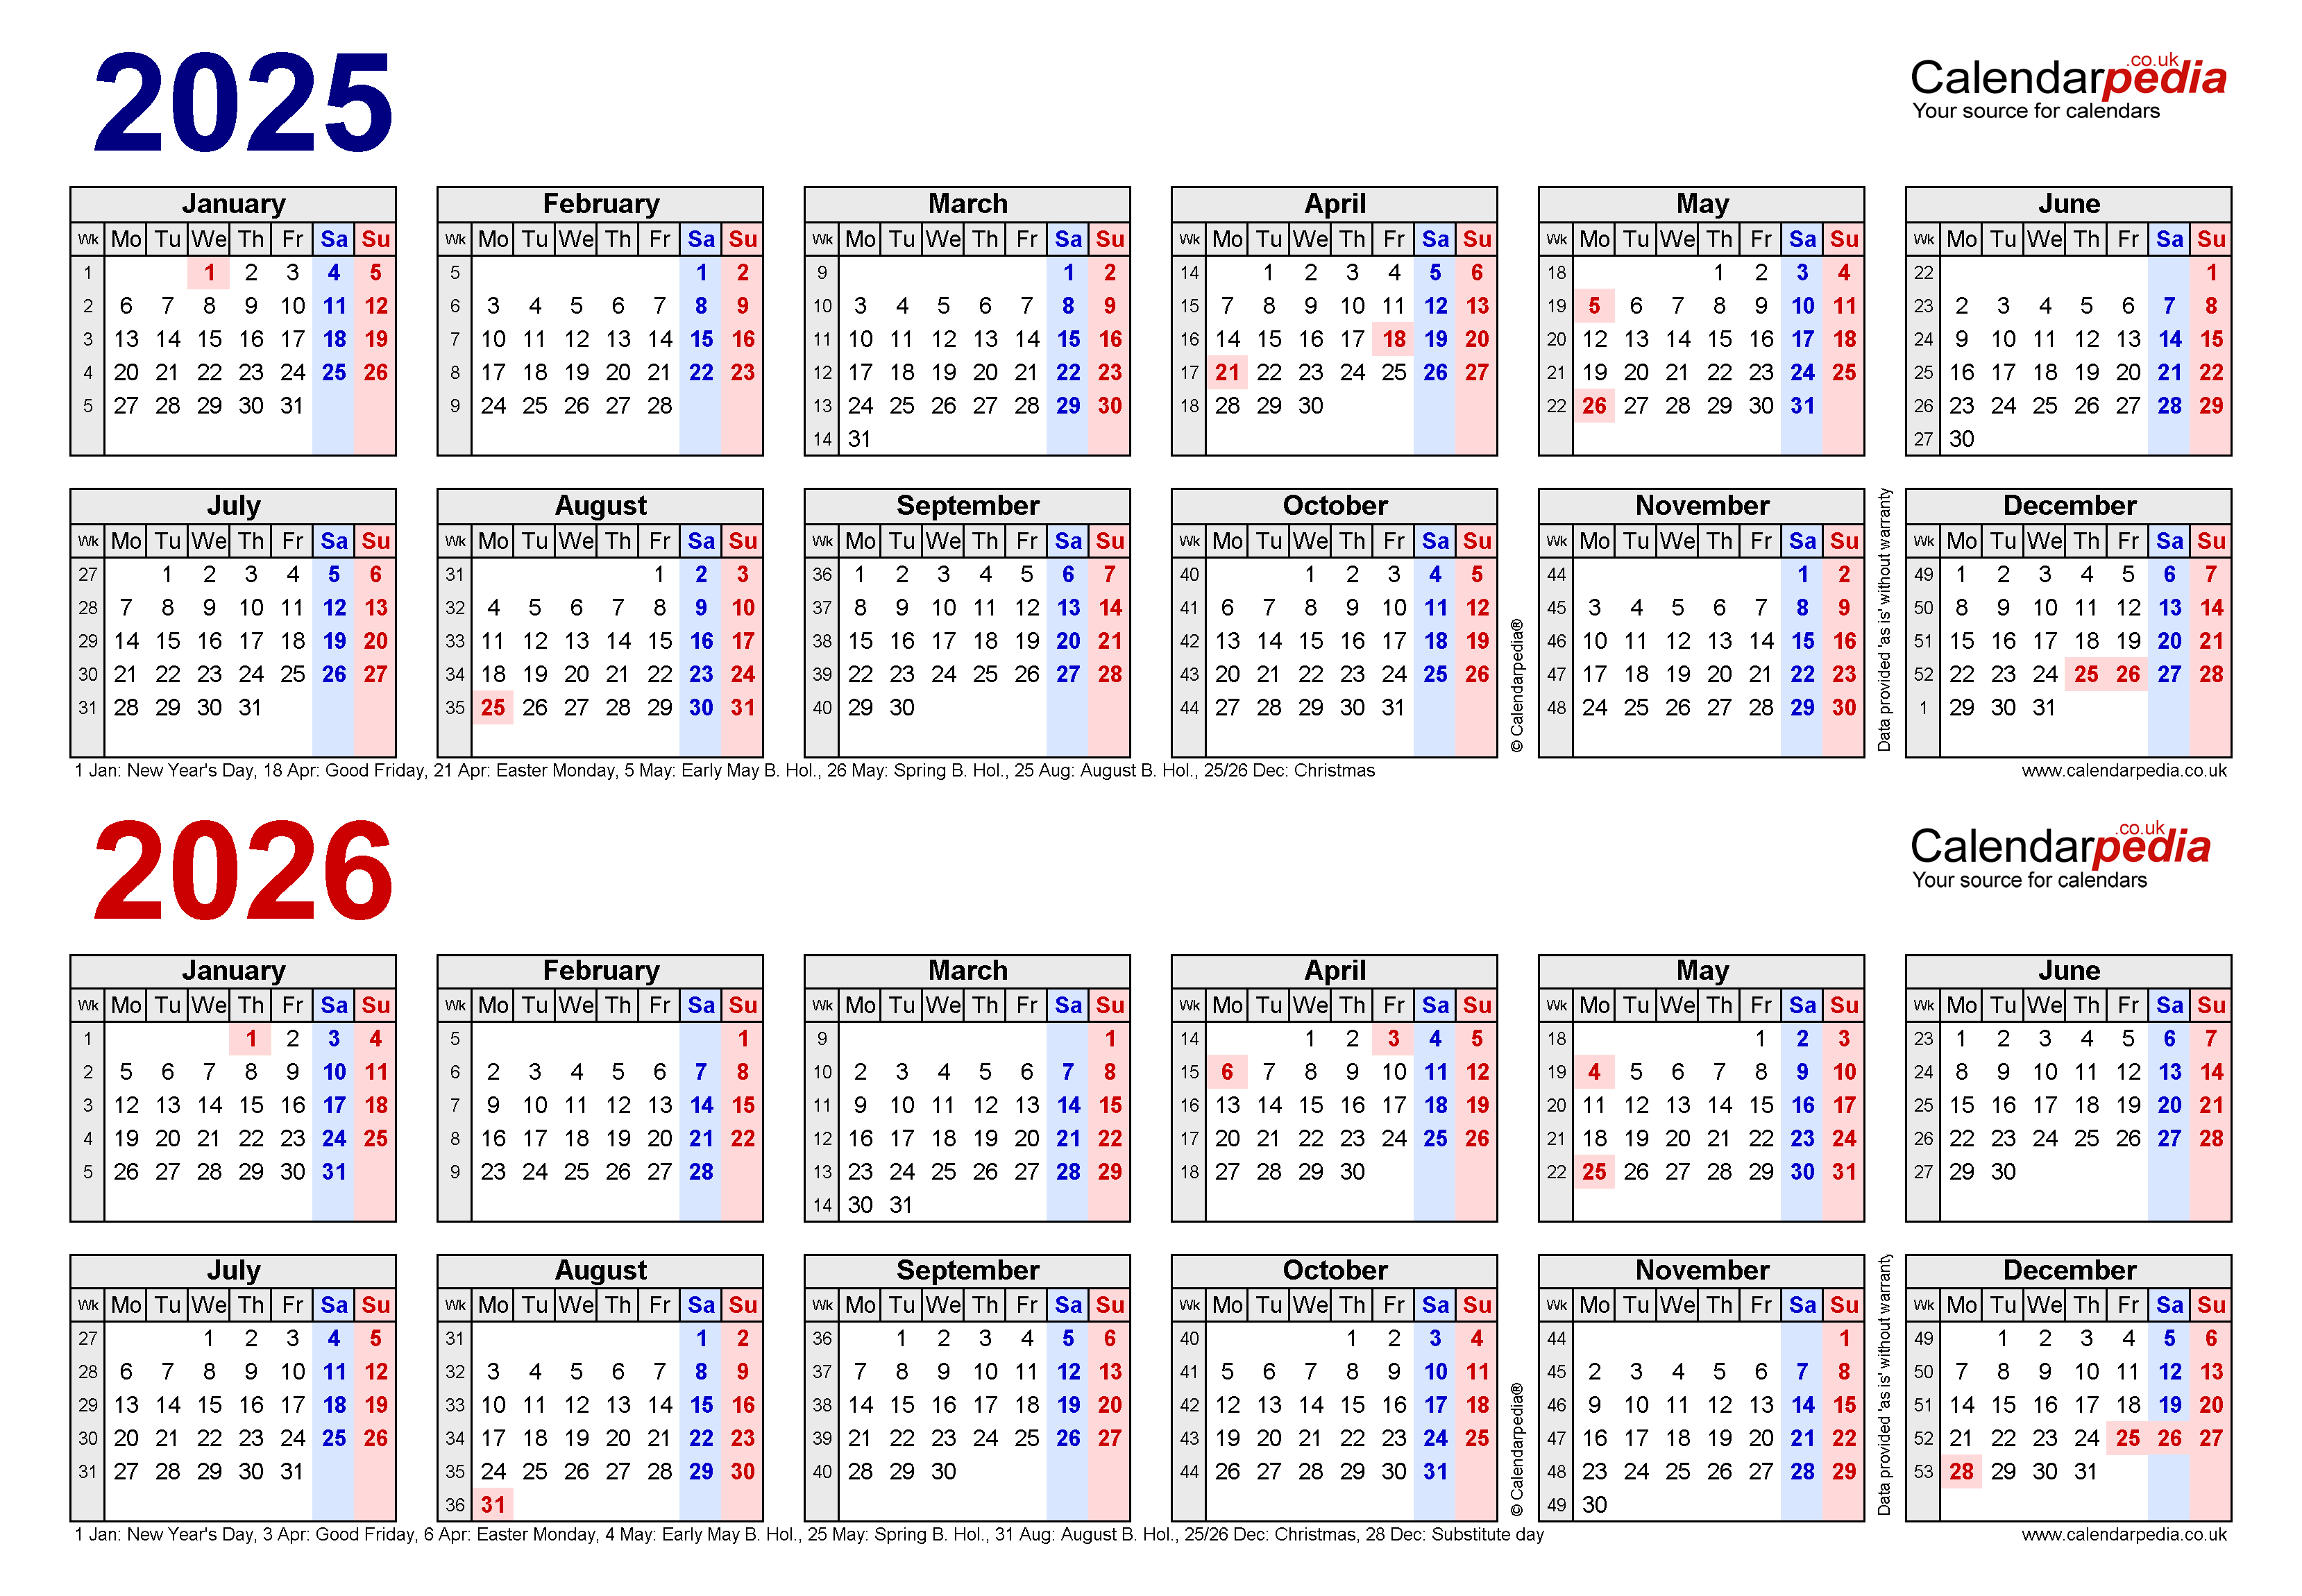
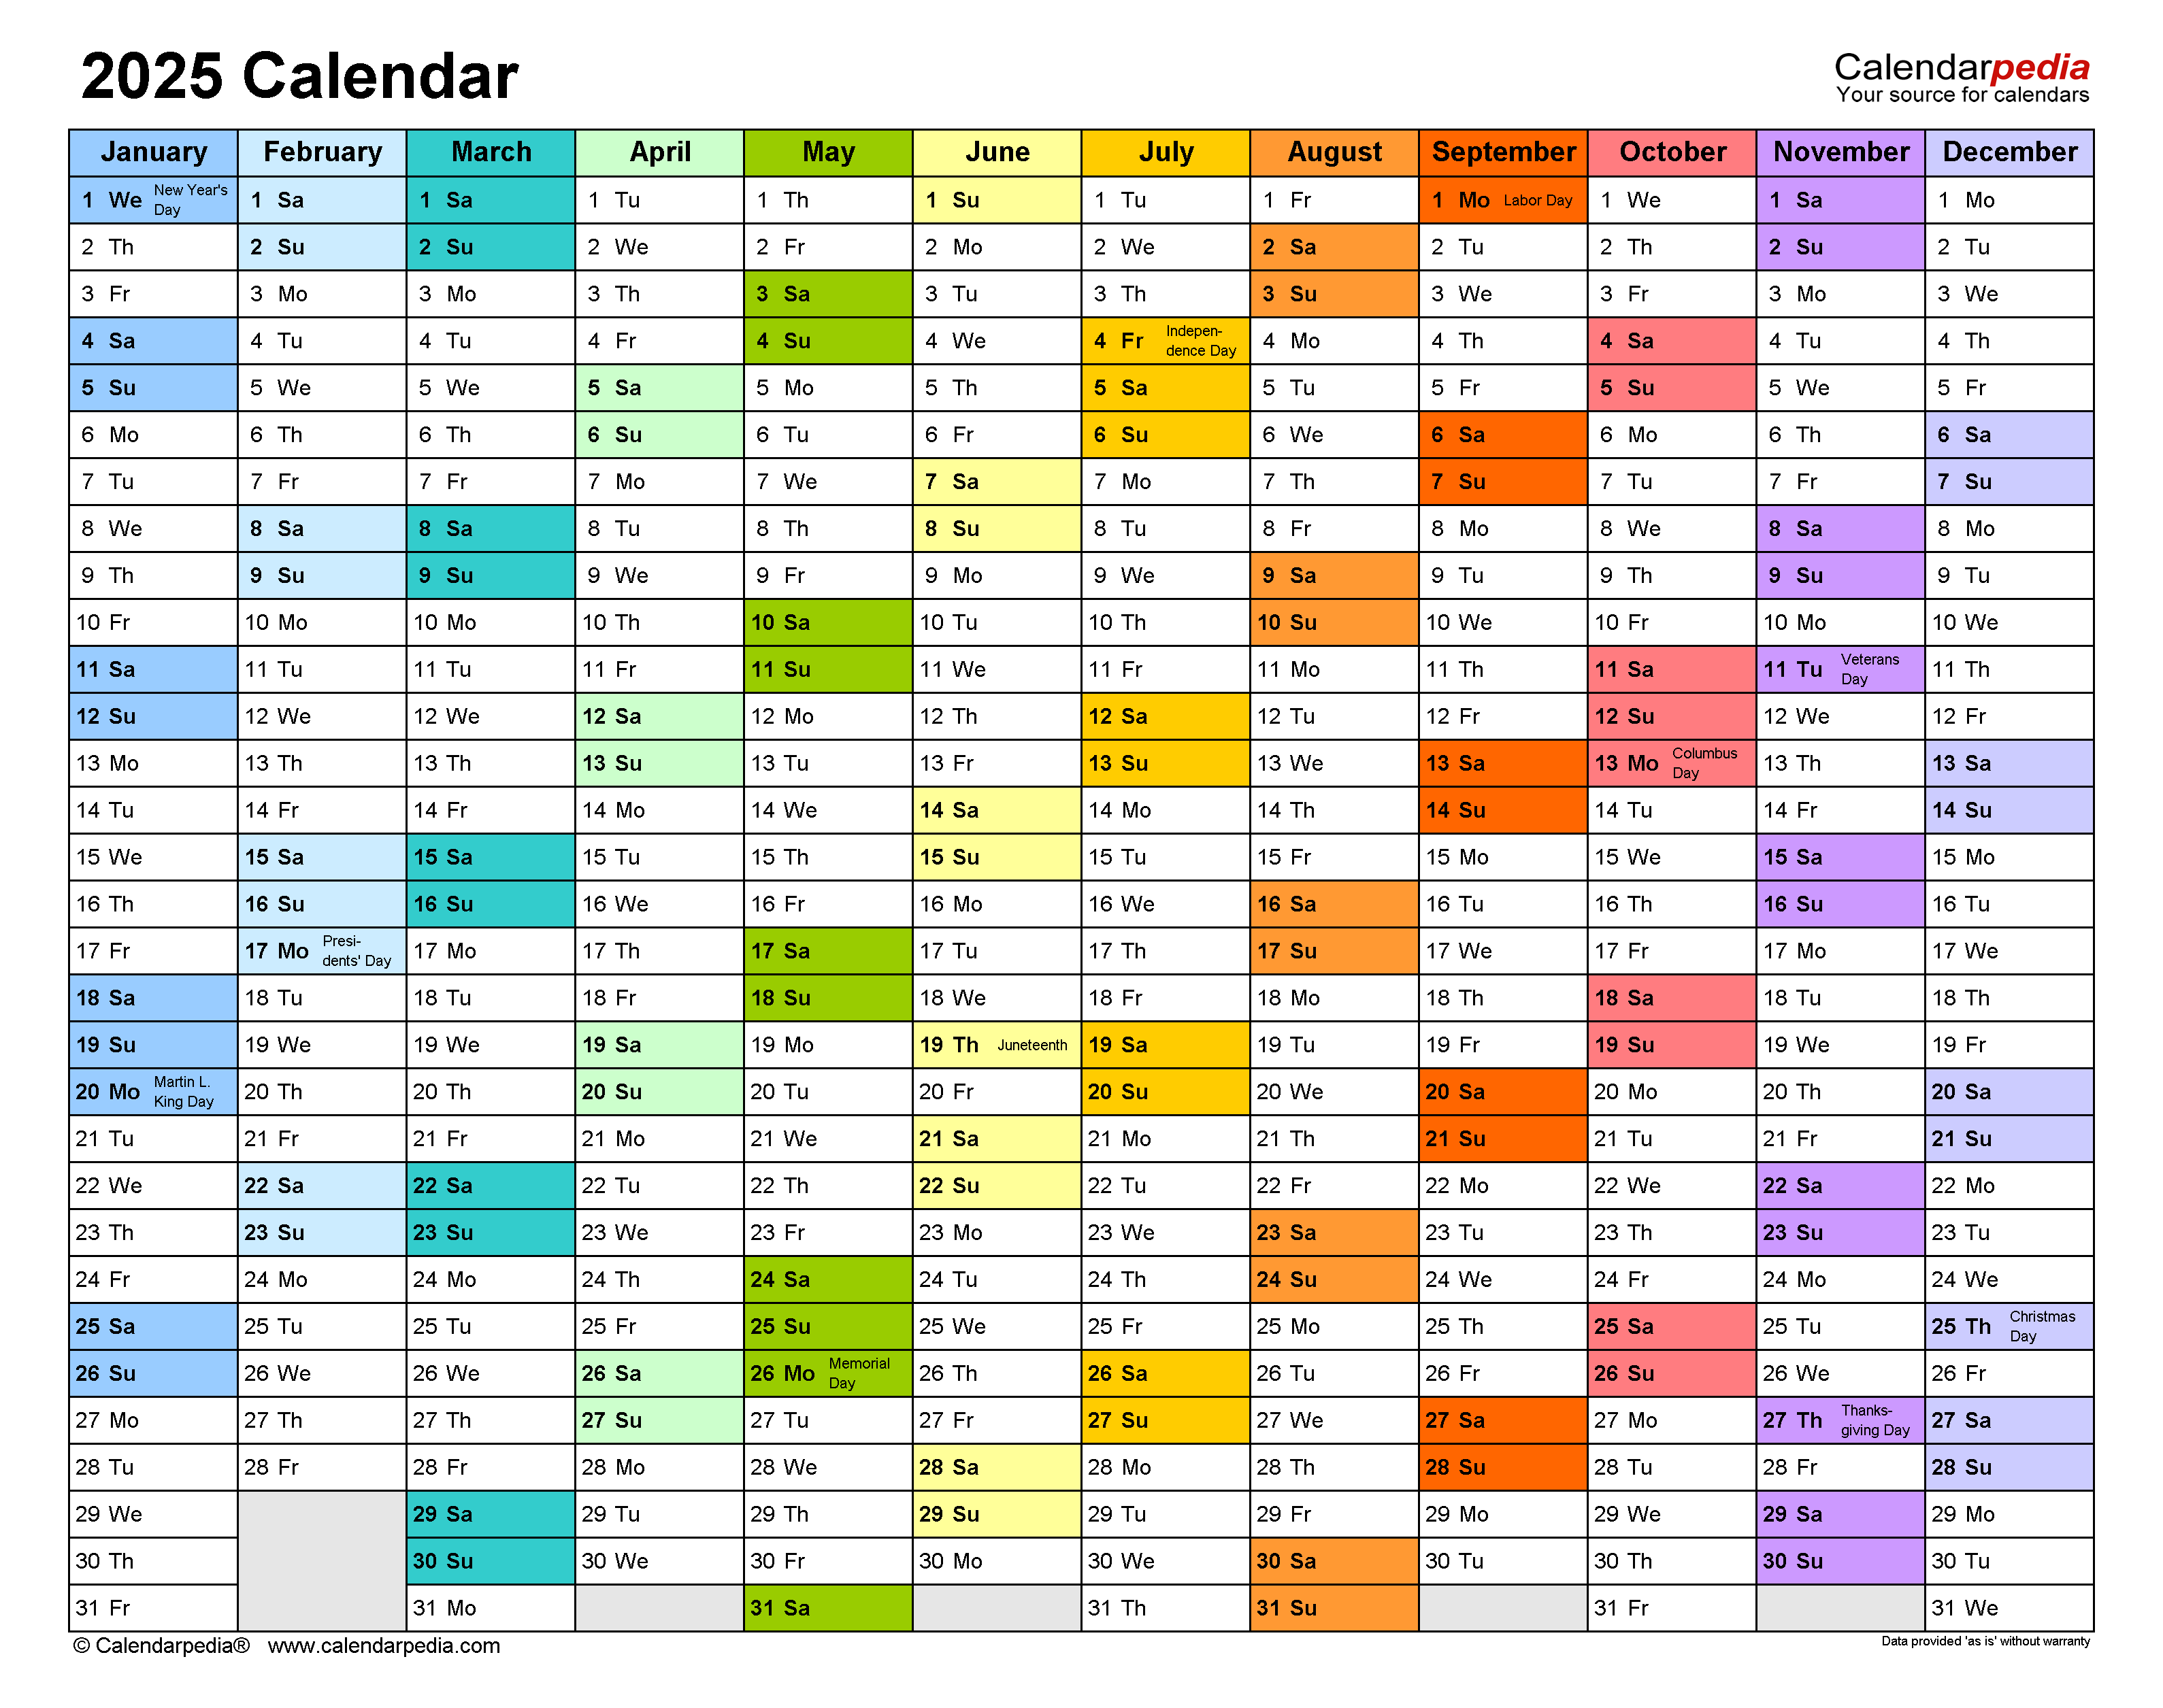
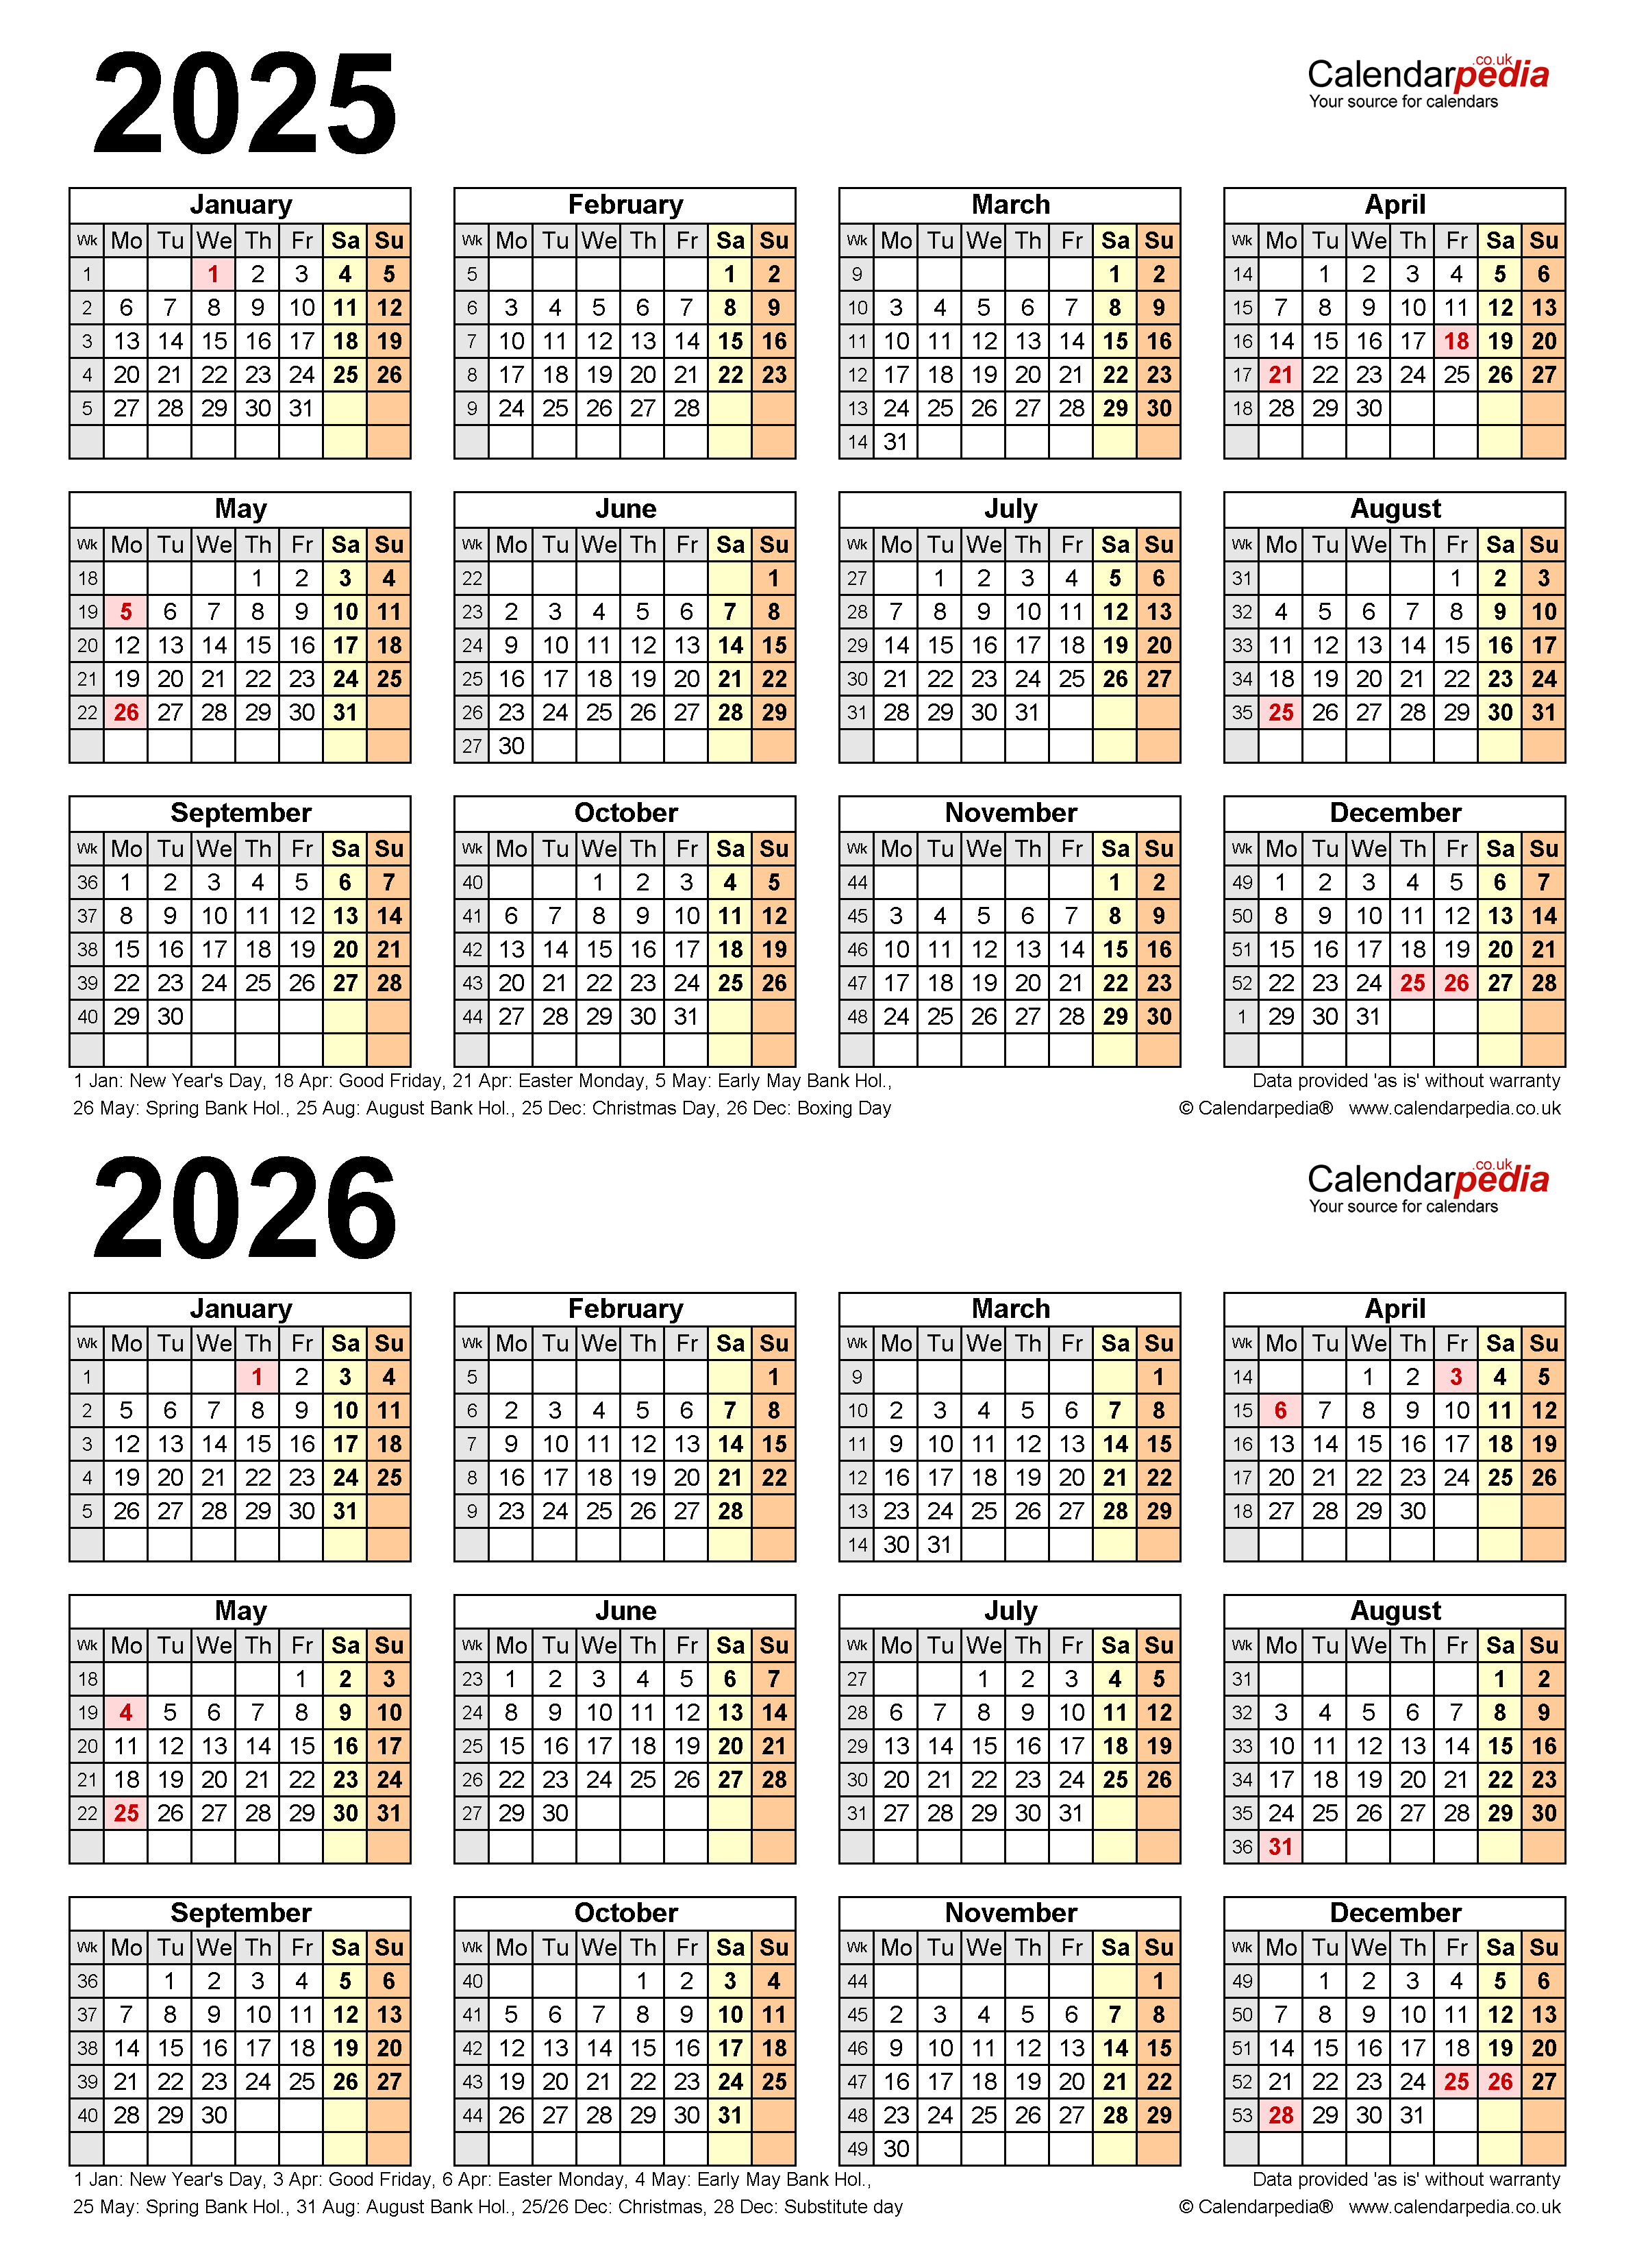
Next, we will create the headers for each month. In cell A2, type "January 2025" and in cell A3, type "February 2025". Continue filling in the cells down the first column with the remaining months and years for 2025 and 2026.
Step 5: Populate the Calendar with Dates
Now, we will populate the calendar with the actual dates. Select cell A4 and type "=DATE(2025,1,1)". This formula will insert the date January 1, 2025, into cell A4. Press "Enter" to apply the formula.
Next, select cell B4 and type "=A4+1". This formula will add one day to the date in cell A4, resulting in January 2, 2025. Press "Enter" to apply the formula.
Continue filling in the remaining cells in row 4 with the dates for January 2025, using the formula "=B4+1" for each cell.
Repeat this process for the remaining rows and columns to populate the entire calendar with dates.
Step 6: Customize the Calendar
Once the calendar is populated with dates, you can customize it to suit your needs. For example, you can change the font, color, or size of the text. You can also add borders or shading to the cells. To do this, select the cells you want to customize and then use the formatting options in the "Home" tab of the Excel ribbon.
Step 7: Add Events and Appointments
To add events or appointments to your calendar, simply type the event name or description in the appropriate cell. You can also use the "Insert" tab in the Excel ribbon to add additional rows or columns to your calendar as needed.
Step 8: Save and Print Your Calendar
When you are finished creating your Excel calendar, be sure to save it so that you can access it later. To do this, click on the "File" tab and select "Save As" from the drop-down menu. Enter a name for your calendar and choose a location to save it.
To print your calendar, click on the "File" tab and select "Print" from the drop-down menu. In the "Print" dialog box, select the printer you want to use and click on the "Print" button.
Tips for Using an Excel Calendar
Here are a few tips for using an Excel calendar effectively:
- Use different colors or fonts to differentiate between different types of events or appointments.
- Add notes or descriptions to events to provide additional details.
- Use the "Conditional Formatting" feature to highlight important dates or events.
- Create multiple calendars for different purposes, such as work, personal, or project-specific calendars.
- Share your calendar with others by emailing it or saving it to a shared network drive.
Conclusion
An Excel calendar is a versatile and customizable tool that can help you stay organized and on top of your schedule. By following the steps outlined in this guide, you can easily create an Excel calendar for the years 2025 and 2026. With a little creativity and customization, you can create an Excel calendar that meets your specific needs and preferences.


Closure
Thus, we hope this article has provided valuable insights into Excel Calendar 2025-2026: A Comprehensive Guide. We appreciate your attention to our article. See you in our next article!