July 2025 Calendar Excel: A Comprehensive Guide
Related Articles: July 2025 Calendar Excel: A Comprehensive Guide
- Calendario 2025 Hacienda Costa Rica
- Tamil Daily Calendar 2025 July
- Hawaii Department Of Education 2025-2026 School Calendar
- WWE Calendar 2025 Wall: A Comprehensive Guide To The Year’s Biggest Wrestling Events
- February 2025 Calendar UK: A Comprehensive Guide
Introduction
In this auspicious occasion, we are delighted to delve into the intriguing topic related to July 2025 Calendar Excel: A Comprehensive Guide. Let’s weave interesting information and offer fresh perspectives to the readers.
Table of Content
Video about July 2025 Calendar Excel: A Comprehensive Guide
July 2025 Calendar Excel: A Comprehensive Guide
Introduction
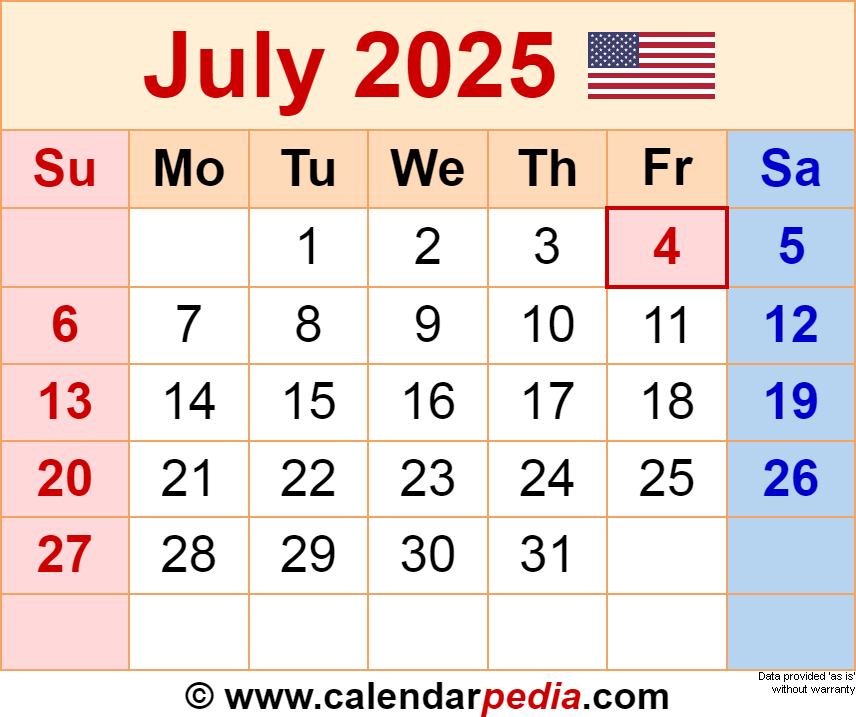
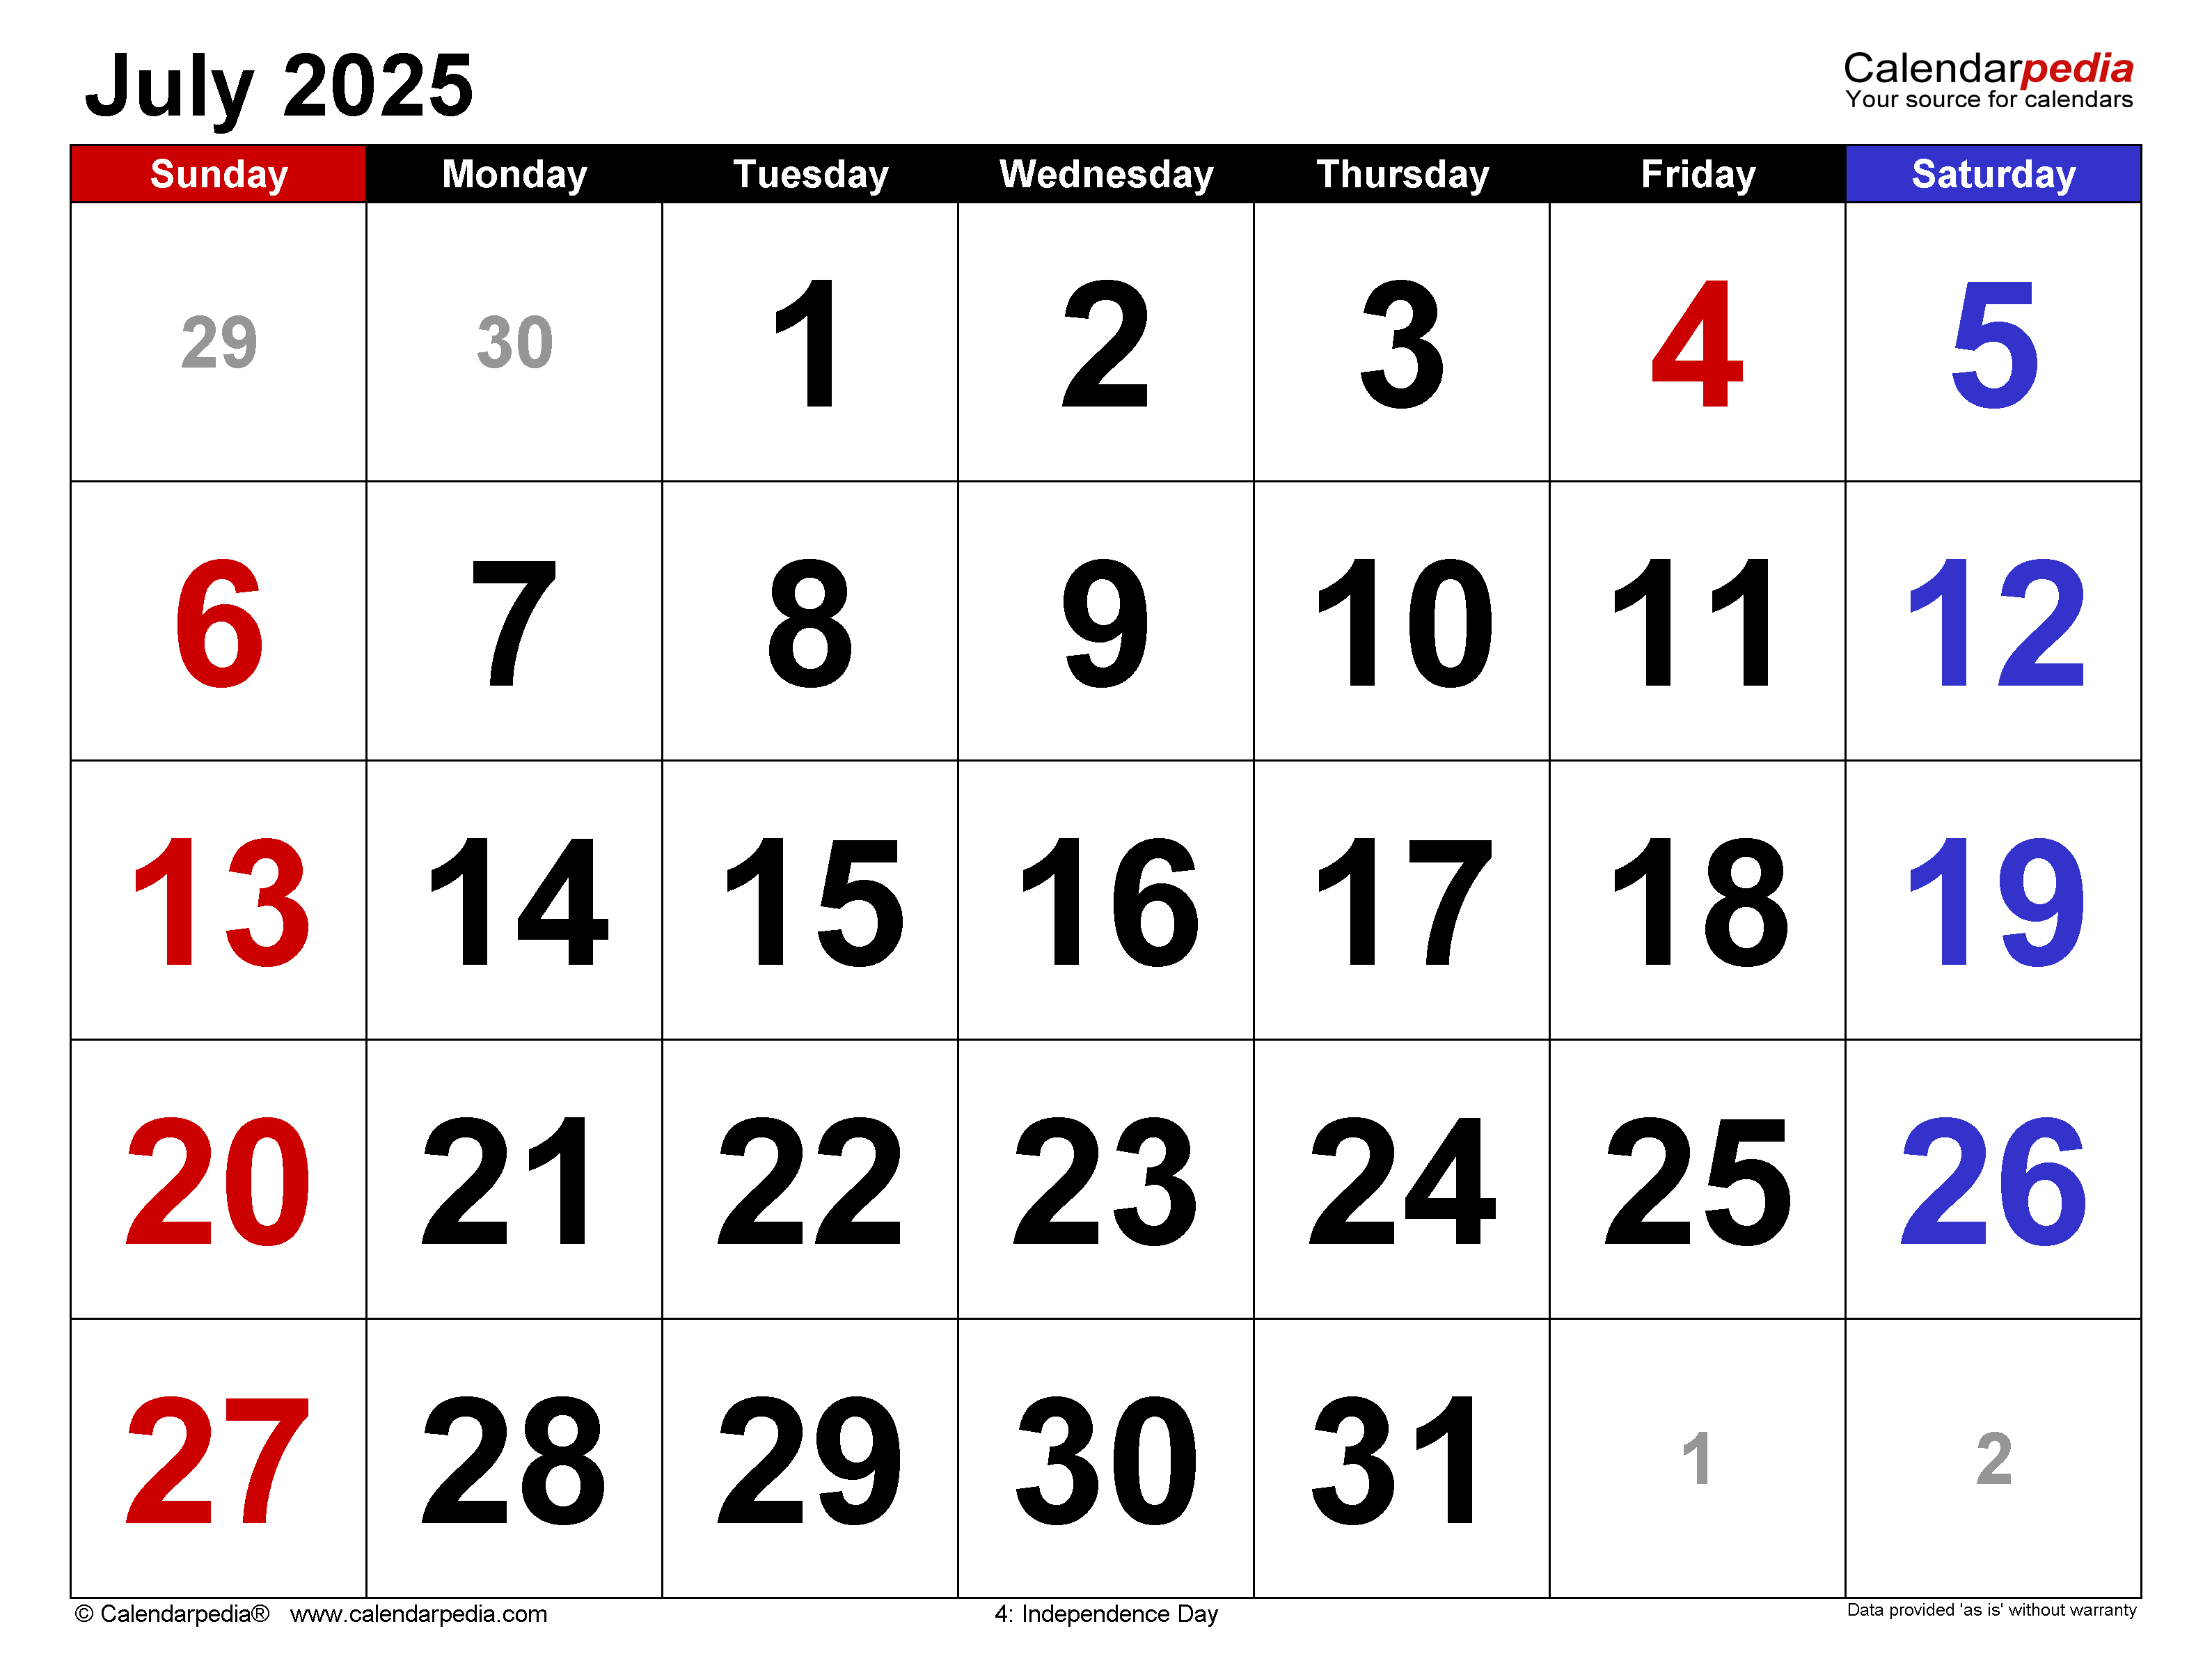
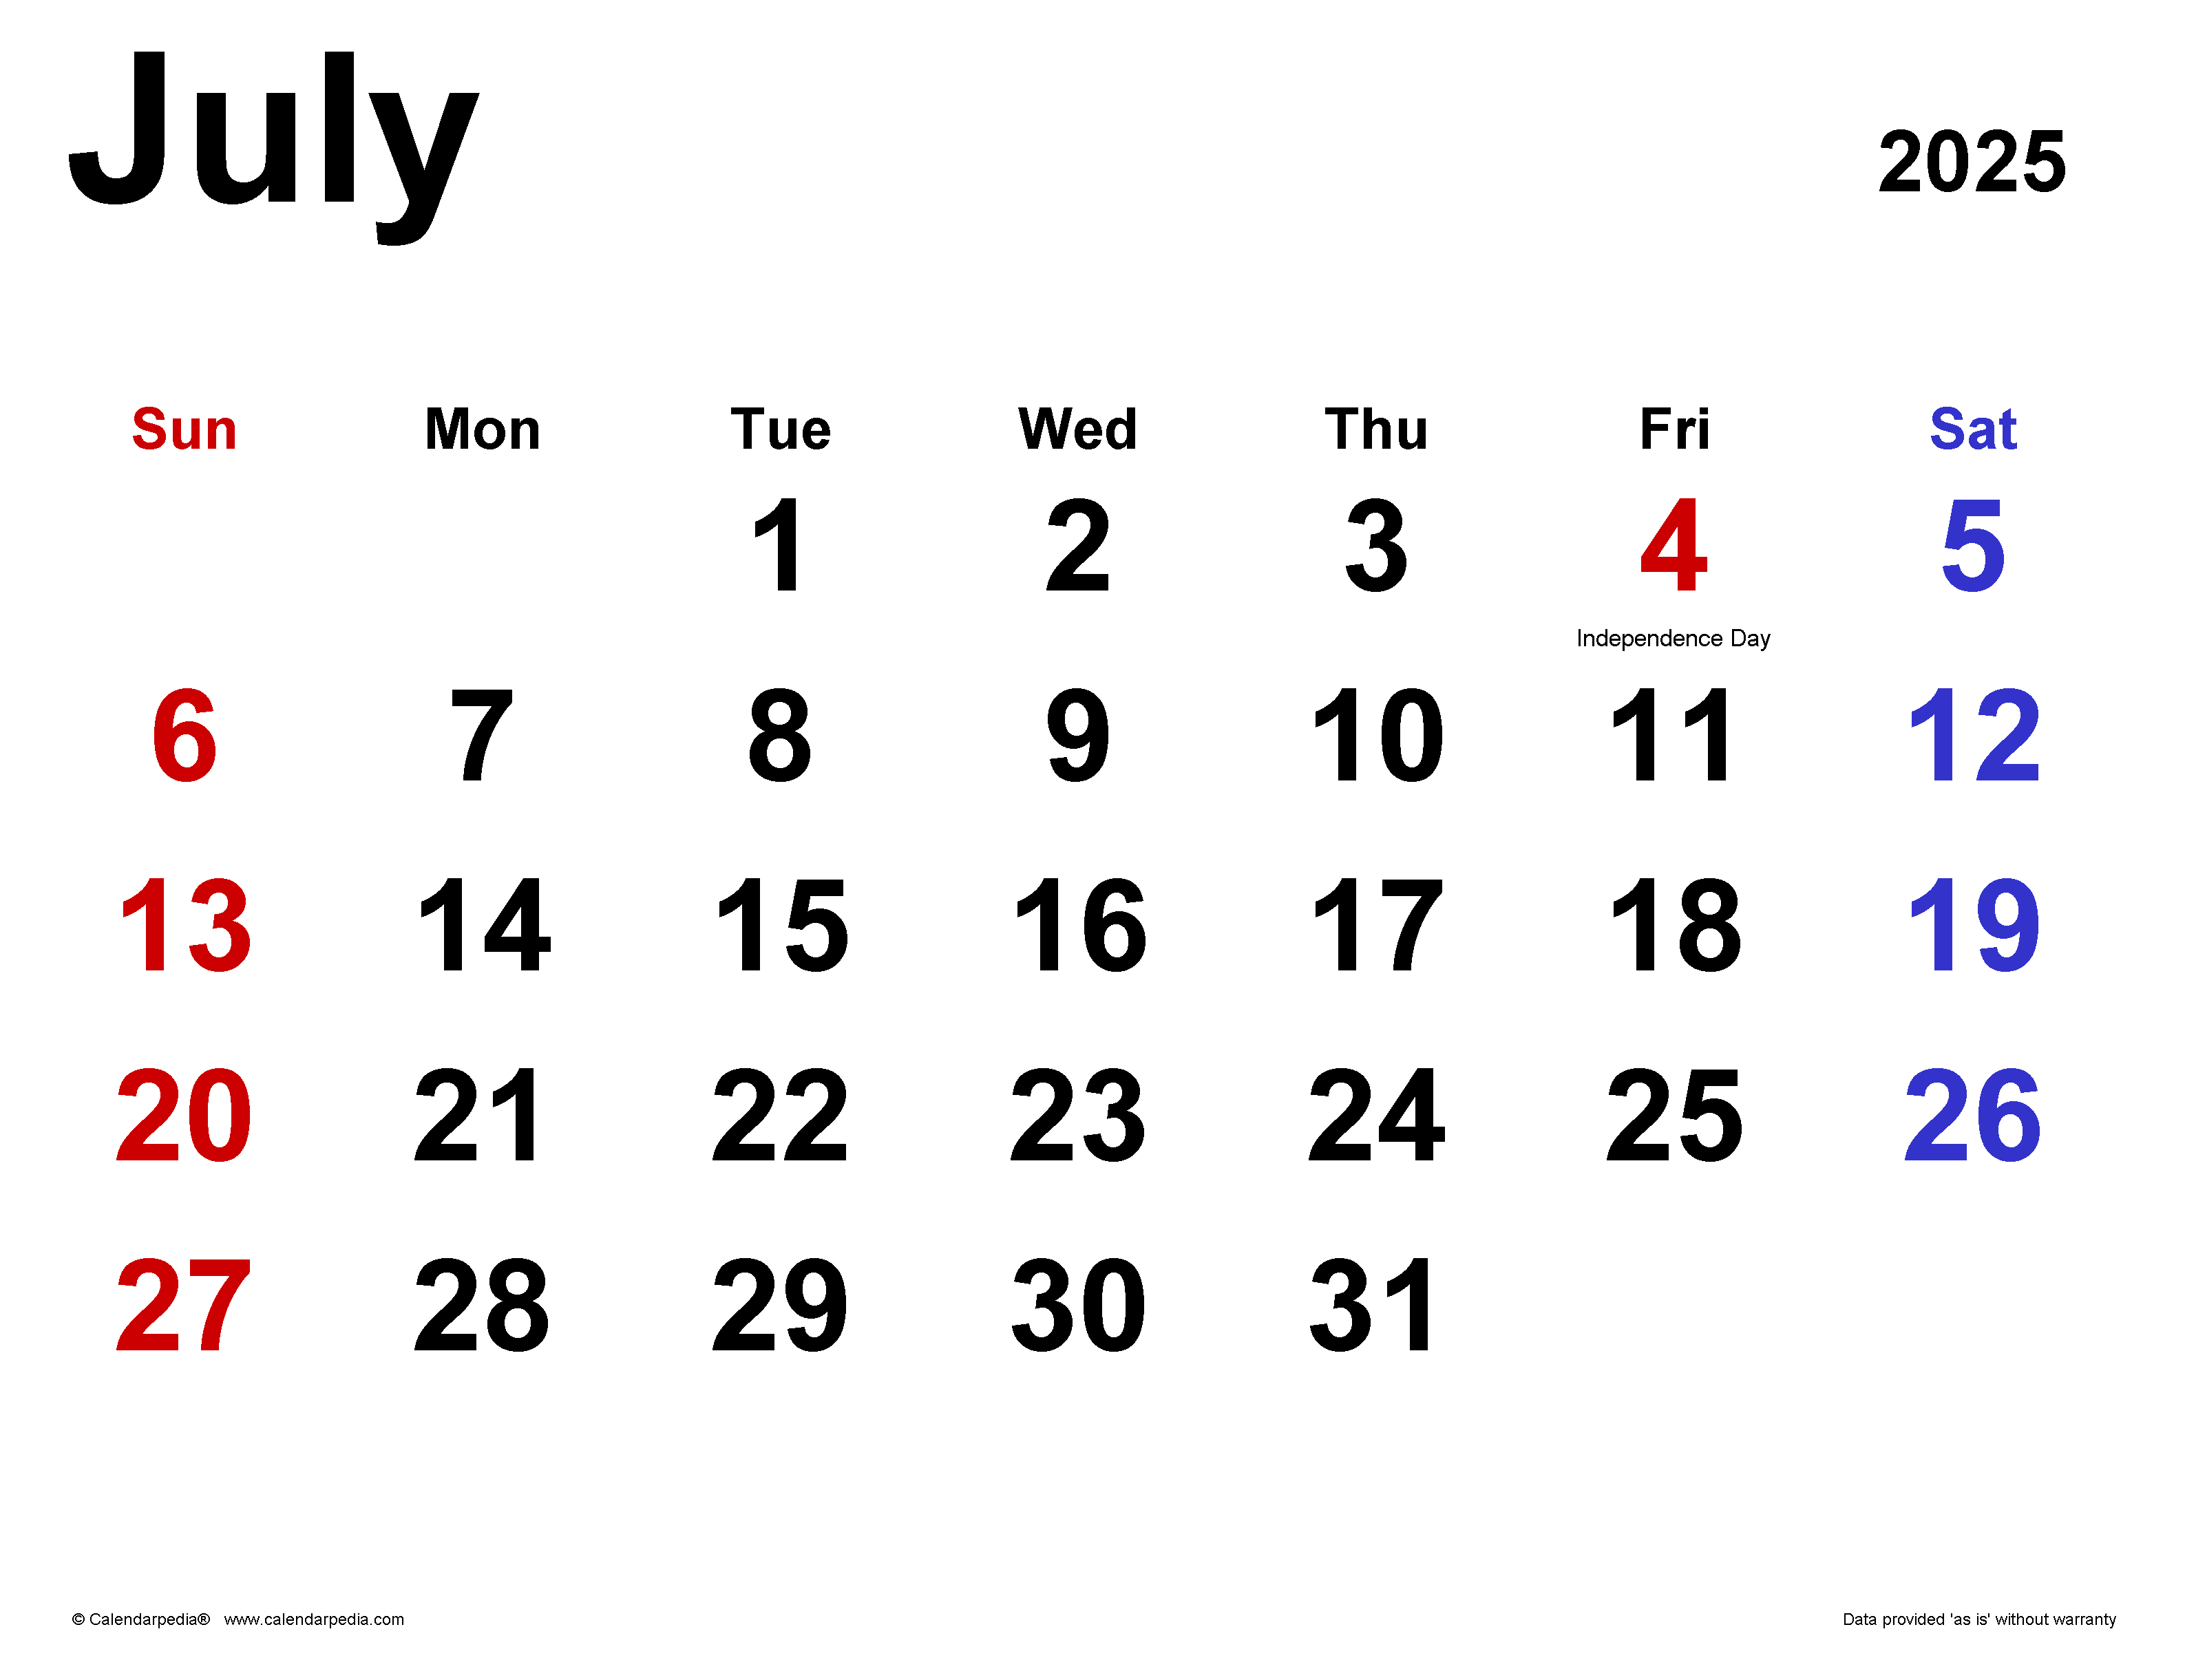
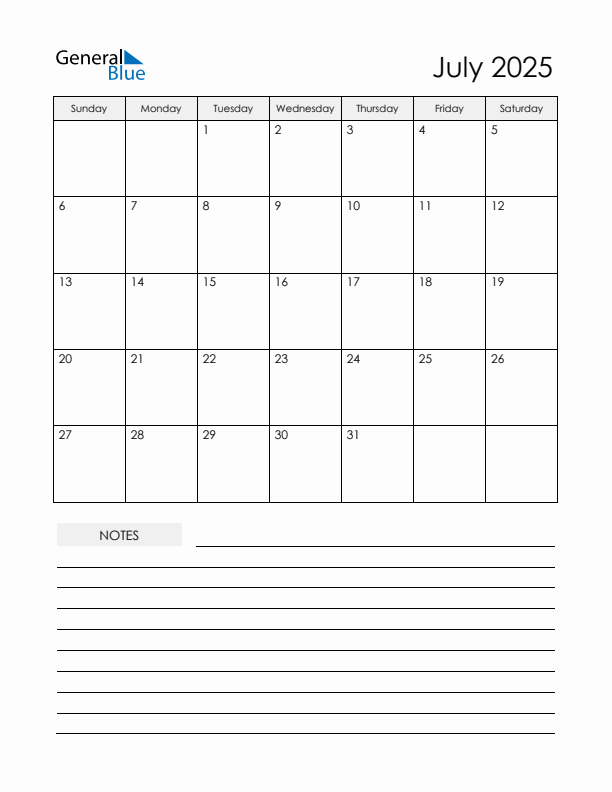
Microsoft Excel is a powerful spreadsheet application that offers a wide range of features and functionalities, including the ability to create and customize calendars. This article will provide a comprehensive guide on how to create a July 2025 calendar in Excel, complete with step-by-step instructions, tips, and tricks.
Creating a New Excel Workbook
- Open Microsoft Excel on your computer.
- Click on the "File" tab in the top left corner of the window.
- Select "New" from the left-hand menu.
- Choose "Blank workbook" from the list of templates.
- A new blank workbook will be created.
Entering the Calendar Data
- In the first cell (A1), type "Sunday".
- In the second cell (B1), type "Monday".
- Continue entering the days of the week across the top row of the spreadsheet.
- In the second row (A2), enter the date "1".
- In the cell below (A3), enter the date "2".
- Continue entering the dates for the entire month of July 2025.
Formatting the Calendar
- Select the entire calendar (A1:G31).
- Right-click and choose "Format Cells" from the context menu.
- In the "Number" tab, select the "Date" category.
- Choose the desired date format from the list.
- Click "OK" to apply the formatting.
Adding Gridlines and Borders
- Select the entire calendar again (A1:G31).
- Click on the "Home" tab in the ribbon.
- In the "Font" group, click on the "Borders" button.
- Choose "All Borders" from the drop-down menu.
- Click on the "Gridlines" button next to the "Borders" button.
- Select the desired gridline style from the drop-down menu.
Customizing the Calendar
Changing the Font and Color:
- Select the entire calendar (A1:G31).
- In the "Home" tab, click on the "Font" group.
- Choose the desired font, font size, and font color.
Adding Events:
- Click on the cell where you want to add an event.
- Type the event name in the cell.
- Change the font color or style to make the event stand out.
Adding Notes:
- Select the cell next to the event.
- Type the notes or details for the event.
- Use different fonts, colors, or formatting to organize the notes.
Tips and Tricks
Using Conditional Formatting:
Conditional formatting allows you to apply different formatting rules based on specific criteria. For example, you could highlight weekends in green or mark important dates in red.
Creating a Macro:
A macro is a series of recorded actions that can be automated. You could create a macro to automatically populate the calendar with dates or add events.
Using Excel Templates:
There are numerous Excel templates available online that provide pre-designed calendars. You can download a template and customize it to meet your needs.
Conclusion
Creating a July 2025 calendar in Excel is a simple and straightforward process. By following the steps outlined in this guide, you can create a customized calendar that meets your specific requirements. With its powerful features and flexibility, Excel is an excellent tool for managing your time and schedule effectively.
Closure
Thus, we hope this article has provided valuable insights into July 2025 Calendar Excel: A Comprehensive Guide. We appreciate your attention to our article. See you in our next article!